The February 2010 Daring Bakers’ challenge was hosted by Aparna of My Diverse Kitchen and Deeba of Passionate About Baking. They chose Tiramisu as the challenge for the month. Their challenge recipe is based on recipes from The Washington Post, Cordon Bleu at Home and Baking Obsession.
I know some of you might be completely mortified by how much I've strayed from the traditional tiramisu here. As soon as I saw what the challenge was going to be this month I thought about making a lovely traditional tiramisu (a dessert which I love), but I could make a regular old tiramisu any day of the year, and this was for Daring Bakers! I had to go a little crazy.
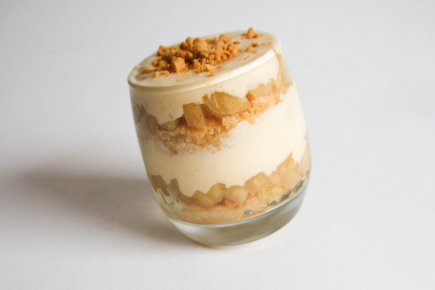
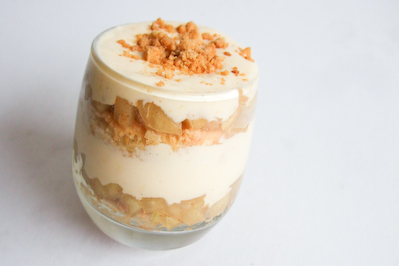
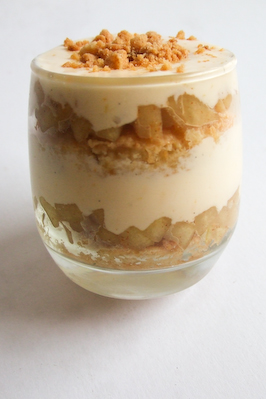
I tossed up several ideas, but time and money constraints reined me in. I thought about doing a dark chocolate and raspberry tiramisu with butterscotch schnapps, or a strawberry margarita tiramisu with lime juice and tequila soaked ladyfingers and strawberry mascarpone served in a cocktail glass with a sugar/salt crusted rim. But I was determined to get this dessert prepared for our annual family Chinese New Year's Ever dinner...and this recipe really does require a whole lot of prep. So I kept it simple. But tasty. Apple pie and tiramisu, two favourites, two classics....together in one dessert, by using apples cooked until tender with butter, sugar & cinnamon, and a sprinkling of apple pie crust on top. And all of us were really surprised by how tasty it was in the end.
I usually hate recipes that require this many separate elements and so much prep and chilling time. I like things you can bung in the oven once and be done with. It seemed like a huge shame to make this beautiful zabaglione and then mix it up with all these other creamy things so it was lost amongst it all. But then I made it, and it was soooooo good. For those of you who are tiramisu purists, I don't blame you. But try not to think of this adaptation as ruining a classic, and more that it is taking inspiration and creating something fun and new.
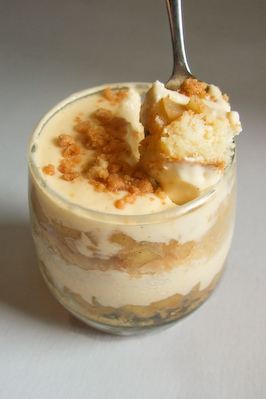
I really enjoyed the flavours and textures, with the soft, sweet ladyfingers that had the lovely scent of brandy, the beautifully smooth and creamy mixture, cinnamon flavoured apple pie mixture and the crunch of the crumble. I might make this again, but hugely cut down the prep time by only using bought mascarpone and cream for the mixture and buying lady finger biscuits.
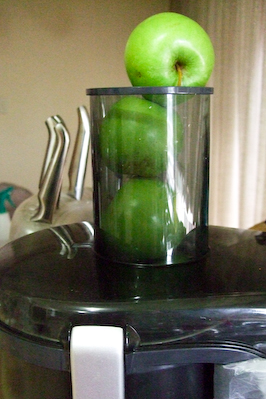
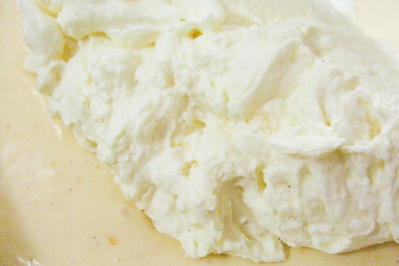
The mascarpone was easy to make, I've made ricotta before but the mascarpone was a little different. It only thickens when it curdles, so it's not completely obvious that anything has happened after you add the lemon juice. But after chilling it overnight it was lovely, creamy and smooth. The sponge fingers turned out exactly like I imagined, soft and fluffy with a crisp outer layer. The apple pie filling and cinnamon crumble are dead easy to make, and I also used this as an opportunity to finally use our fancy fruit juicer that can take whole apples!
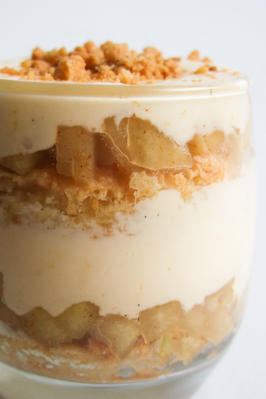
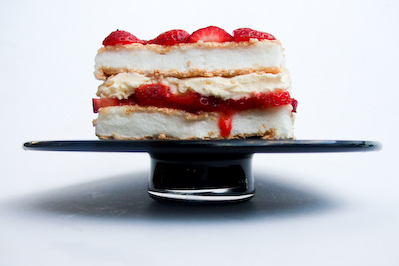
I made two versions of this dessert, as individual sized portions in these amazing glasses. A's Mum brought them back as a present from their trip to Thailand, they have pointy bottoms so they roll around like spinning tops, which looks cool but turned out to be a pain to keep still for photos, haha! I also made a larger one with the leftover ingredients in a loaf tin that was line with cling film so that I could lift it out after freezing it and slice up. It froze beautifully and you could clearly see all the neat layers of sponge, apples and cream. It even tasted great and was really smooth while it was still frozen, like a semifreddo. But I still preferred the individual portions the best, it was the easiest to eat and the prettiest to look at. And the perfect, light way to top off a very heavy meal.
Apple Pie Tiramisu
To assemble the Apple Pie Tiramisu:
Zabaglione
Vanilla Pastry Cream
Whipped Cream
2 cups/470ml fresh apple juice
1/2 cup brandy
750g granny smith apples, peeled, cored and diced
1/2 cup caster sugar
30g butter
1 tsp ground cinnamon
1/3 cup/75gms mascarpone cheese (Vera's recipe)
36 savoiardi/ ladyfinger biscuits (you may use less) (Check Aparna or Deeba's challenge posts for the recipe, when they get posted)
For the crumble:
85g self raising
60g sugar
30 butter
1 tbsp water for mixing
ground cinnamon
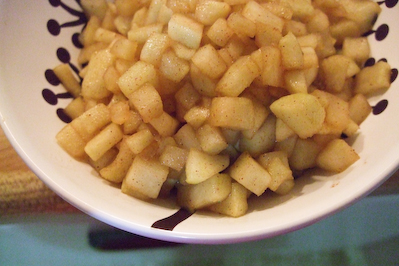
Placed diced apples and butter in a medium saucepan and add sugar and cinnamon. Stirring regularly, cook apples on medium heat until tender and golden. Remove from heat and cool completely. (Can be done the night before and kept in the fridge)
Preheat oven to 180 degrees C. Place butter, flour and sugar in a bowl and rub the mixture between your fingertips to combine them. Lift the mixture up high with your hands and let it fall so it traps a bit of air. Add about 1/2 tsp of ground cinnamon, then gradually add a 1/2 tablespoon of water at a time, while still combining mixture with your fingertips until it starts to clump together in nice crumbly pieces. Spread in an even layer on a lined baking tray and bake until golden, fluffing regularly with a fork. If the bits of crumble are stuck together after removing from the oven, allow to cool completely and then break up using your fingers. Can be stored in an air-tight container until ready to serve.
Have ready a rectangular serving dish (about 8" by 8" should do) or one of your choice. I prefer using individual serving glasses.
Mix together the apple juice and brandy in a shallow dish, whisking to mix well. Set aside to cool.
In a large bowl, beat the mascarpone cheese with a spoon to break down the lumps and make it smooth. This will make it easier to fold. Add the prepared and chilled zabaglione and pastry cream, blending until just combined. Gently fold in the whipped cream. Set this cream mixture aside.
Now to start assembling the tiramisu. I first used cookie cutters to give each of my round ladyfingers a neat edge, so that it fit well against the side of my serving glasses. Working quickly, dip 12 of the ladyfingers (or one disc at a time if making individual glasses) in the apple juice mixture, about 1 second per side. They should be moist but not soggy. Immediately transfer each ladyfinger to the platter, placing them side by side in a single row. You may break a lady finger into two, if necessary, to ensure the base of your dish is completely covered.
Spoon a single layer of cooked apple mixture on top of the ladyfingers. Cove this with one-third of the cream mixture (about two table spoons for an individual dish) , then use a rubber spatula or spreading knife to cover the top evenly, all the way to the edges. Repeat to create 2 more layers, using 12 ladyfingers and the cream mixture for each layer. (I only had enough to create two layers) Clean any spilled cream mixture; cover carefully with plastic wrap and refrigerate the tiramisu overnight. (I froze my larger tiramisu to make it easier to slice up into portions before defrosting in the refrigerator)
To serve, carefully remove the plastic wrap and sprinkle the tiramisu with cinnamon crumble. Cut into individual portions (or keep in individual glasses) and serve.

