Pages

Sunday, July 31, 2011

Lemon, Lime & Bitters Macarons

lemon_lime_bitters_macaron
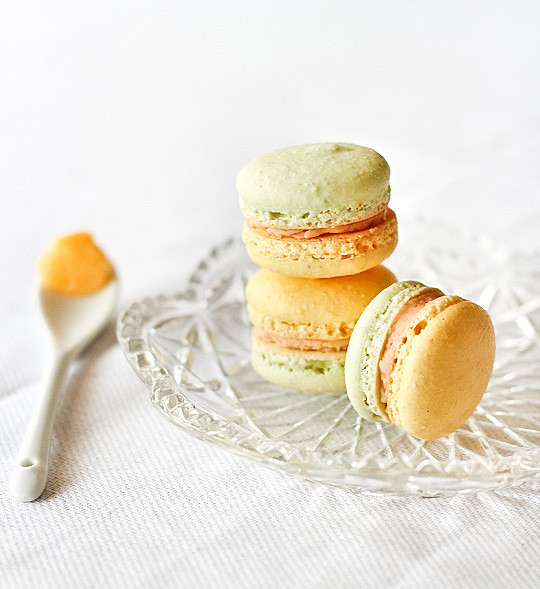
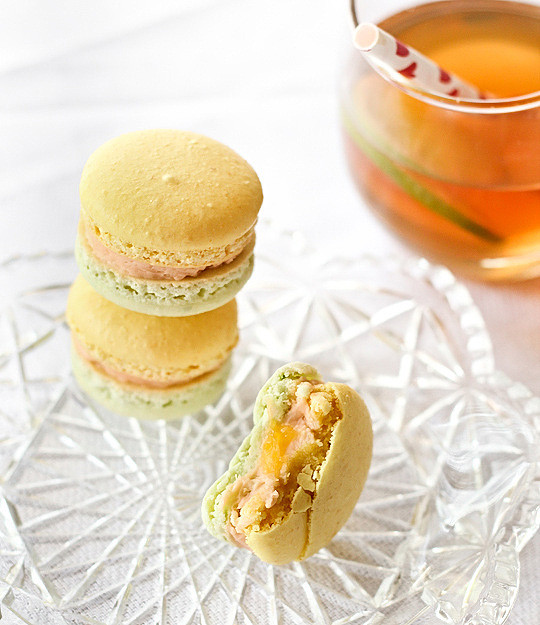
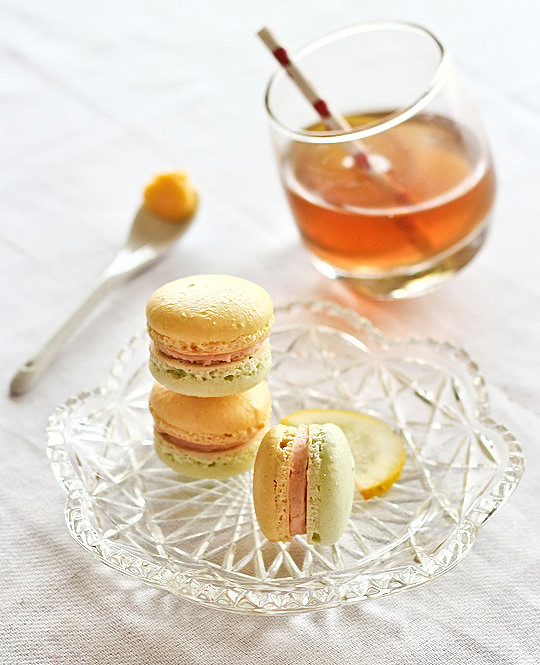
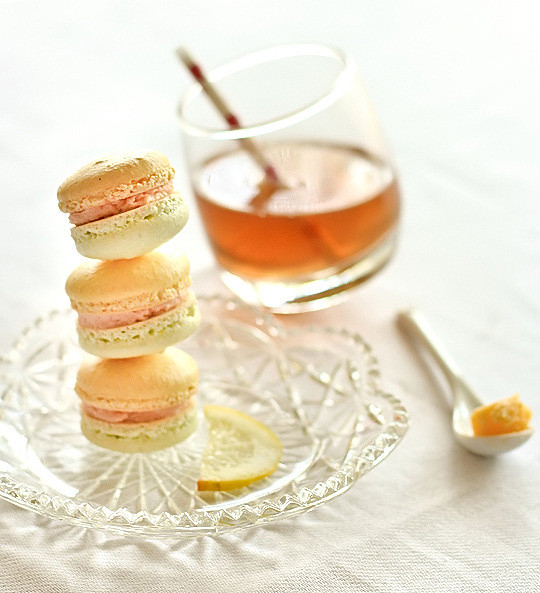
The other day I invited my two favourite bakers for a marathon baking day at my apartment. It was something we had always wanted to do, but living quite far away from each other made it difficult to organise. But I finally bit the bullet and invited them over, which was a good way to force A & myself to clean the house for once :P Many moons ago Lisa came up with a brilliant macaron flavour idea - Lemon, Lime & Bitters. US readers might not be familiar with this drink, but us Aussies love it. We decided that this was the right time to try turning Lisa's idea into reality and together we came up with this recipe - Lemon and Lime macaron shells, sandwiched with a Bitters buttercream (I didn't realise Bitters was 45% alcohol until recently), with a small dollop of lemon & lime curd in the middle. Even if you've never tried the drink before, you should still try these macarons because they are absolutely delightful.
lemon_lime_bitters_macaron-27
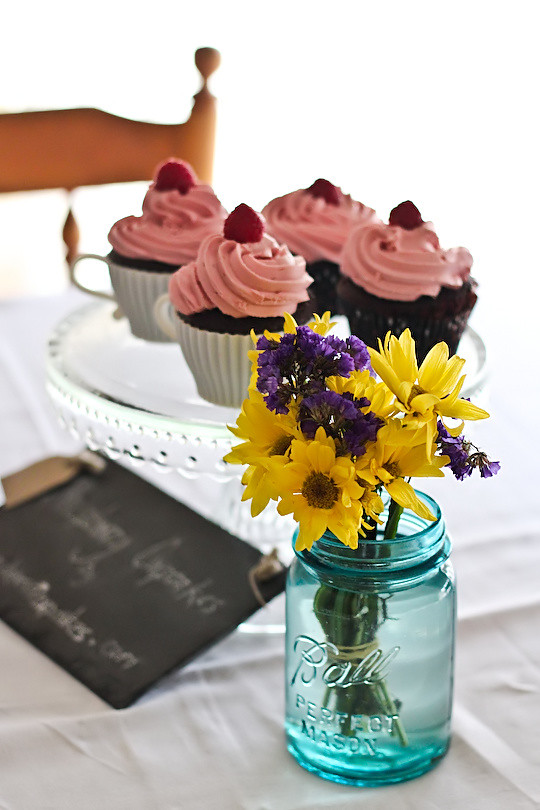
I'm not great at hosting guests and my apartment can't handle too many people, but I wanted it to be lovely, relaxing day so I made sure some of our favourite things were waiting for us - satay and teh tarik from Mamak to start off, and raspberry cupcakes waiting on the table to be tasted.
lemon_lime_bitters_macaron-5_filtered
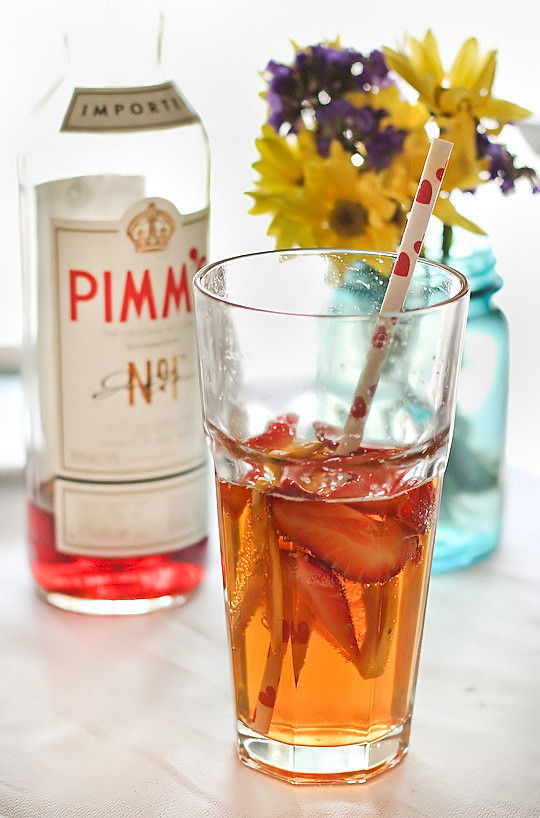
Followed by some Pimm's & Lemonade while we baked...
lemon_lime_bitters_macaron-28
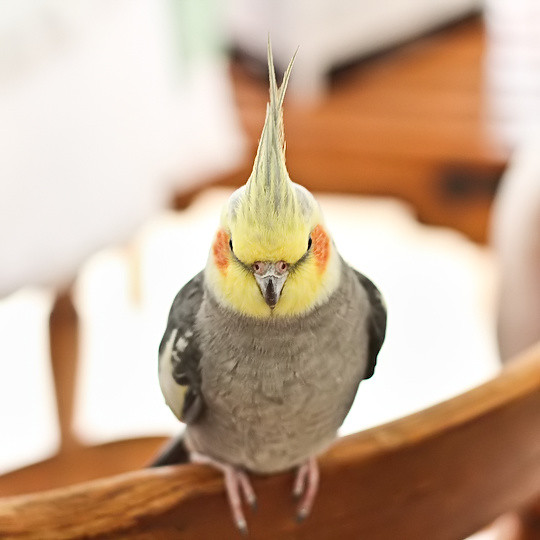
A naughty fluffball watched on curiously as we bustled around the kitchen, singing along to Once More with Feeling, as you do.
lemon_lime_bitters_macaron-21
[A snap by Karen I found on my camera ;)]
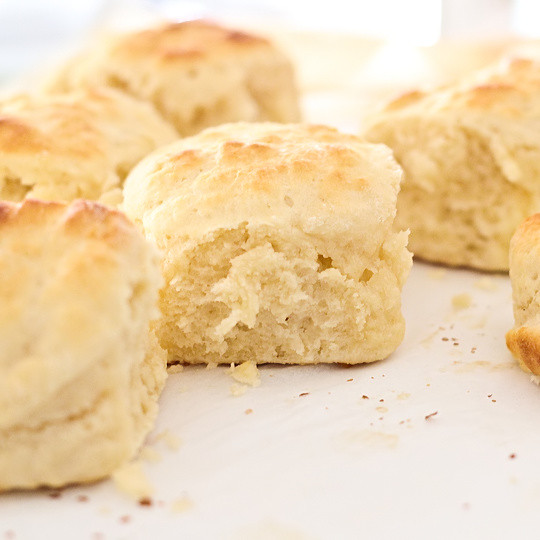
I whipped up a fresh batch CWA scones, to enjoy with strawberry jam and cream. It was a slightly gloomy, overcast day, the perfect weather for sitting back with a steaming cup of English Breakfast and a light-as-a-cloud scone loaded with wayyyy too much jam.
lemon_lime_bitters_macaron-22
[Another shot by Karen]
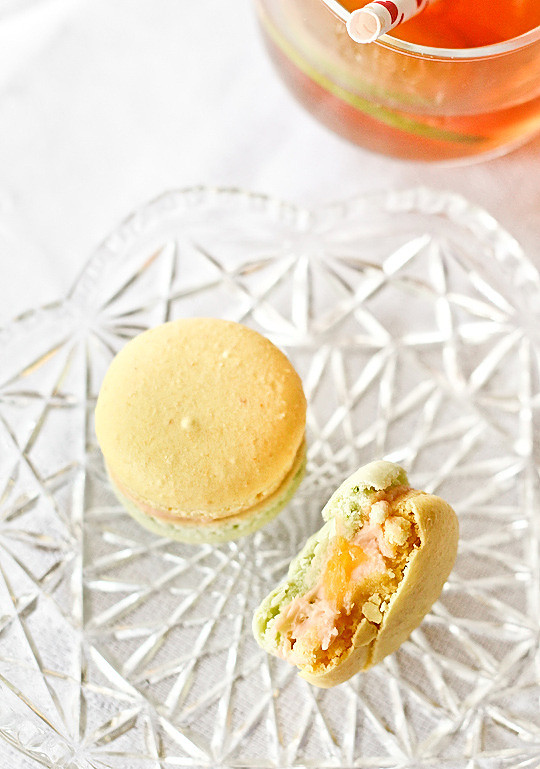
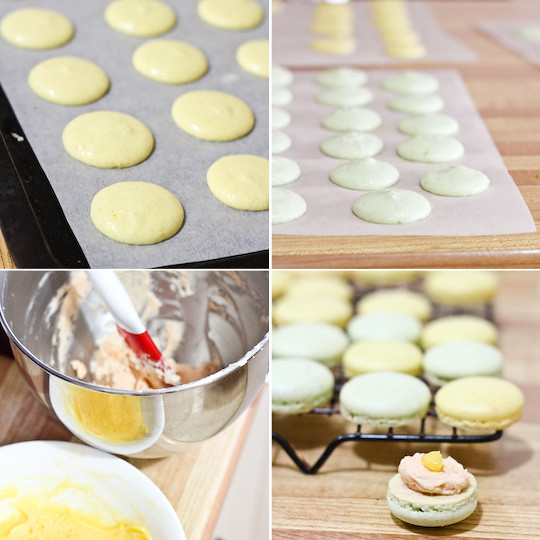
And then we got down to business with these macarons. It was quite a long process since we decided to make one batch of lemon flavour shells and one batch of lime flavoured shells, but totally worth the effort because I loved the way they both turned out with those gorgeous pastel colours. The buttercream was also tinted a very attractive orangey-pink from the bitters. We were unsure about how much bitters to add since it's so strong, but we ended up adding quite a bit and probably could have added even more, since the it was mellowed out by the flavour of the macarons and the curd. We only used a very small amount of the lemon & lime curd because it was super sour, but it added a little bit of zing that was definitely needed.
5972650006_da5a17fb20_b
My favourite thing about these macarons is that bitters buttercream. I didn't know if it was going to work, but it ended up tasting so much better than I expected. Mixing it into the Swiss meringue buttercream gave it a beautiful velvety texture, and the slight bitter, spicy and fruity flavour worked magnificently when combined with the sweetness of a macaron shell. I will definitely have to experiment with more bitter flavours in macarons from now on. Much love to Lisa & Karen for coming over to brainstorm and bake with me, it was so fun and will definitely be repeated. Our combined baking Brains Trust is a force to be reckoned with, watch out world!
lemon_lime_bitters_macaron-25
Lemon, Lime & Bitters Macarons
(makes about 42 macarons, feel free to halve the amounts)
2 x 100g aged egg whites (you can use fresh eggs too, just make sure they are room temperature. I always use fresh these days, and zap it in the microwave on defrost for 10 seconds)
2 x 110g almond meal, dried in a cool (100 degrees C or less) oven for 5 minutes and sifted
2 x 200g icing sugar
2 x 50g caster sugar
Optional: 2 x 1 tsp powdered egg whites (available from The Essential Ingredient), helps to stabilise egg whites but is not necessary
green and yellow powdered/gel food colouring
zest of one lemon
zest of one lime

For the bitters buttercream:
2 egg whites
1/2 cup caster sugar
180g unsalted butter
About 2 tbsp bitters, adjust to taste
(If you're new to making Swiss meringue buttercream, these wonderful tutorials from two of my favourite bloggers will help)

For the lemon-lime curd (optional):
Prepare the lime curd from this recipe, replacing half the lime juice and zest with lemon (you will end up with a lot more than you need, but stay tuned for a recipe that will use up the leftovers!)

This recipe involves preparing two separate batches of macaron shells, one with lime and one with lemon, hence the '2 x' amounts listed in the ingredients. Prepare the lemon shells first, using half the egg whites, almond meal, icing sugar, caster sugar and egg white powder. Line baking sheets with baking paper. Place icing sugar in food processor and pulse for a minute to remove any lumps. Stir in almond meal and pulse for about 30 seconds to combine. Place in a large mixing bowl and set aside. Using an electric mixer, beat egg whites and egg white powder in a medium mixing bowl until the egg white powder dissolves and it reaches soft peaks. With the mixer on high speed, gradually add sugar and beat until it reaches stiff peaks. Add yellow food colouring at this point.

Add meringue and lemon zest to your dry mixture and mix, quickly at first to break down the bubbles in the egg white (you really want to beat all the large bubbles out of the mixture, be rough!), then mix carefully as the dry mixture becomes incorporated and it starts to become shiny again. Take care not to overmix, the mixture should flow like lava and a streak of mixture spread over the surface of the rest of the mixture should disappear after about 30 seconds. Place in a piping bag and pipe rounds of about 3cm diameter on baking sheets. Tap baking sheets carefully and firmly on the benchtop a couple times to remove any large bubbles.
lemon_lime_bitters_macaron-24
Leave to dry for about half an hour, so that when you press the surface of one gently it does not break. This will help prevent any cracking and help the feet to form on the macs. Repeat the process above for the lime shells, adding green food colouring instead of yellow and lime zest instead of lemon zest. Preheat your oven to 140-150°C (285-300°F), depending on your oven. Place on top of an overturned roasting tray or another baking sheet if your sheets are not professional grade, for better heat distribution. Bake for 15-20 minutes, depending on the size of your shells. Remove from the oven and cool on the tray for a few minutes, then gently remove from the sheet and place on a wire rack to cool completely. While waiting for them to cool prepare the lemon lime curd as described in the other recipe and chill in the fridge. Prepare the bitters buttercream; place caster sugar and egg whites hisk together egg white and sugar in a large heatproof bowl. Clip a candy thermometer to side of bowl. Set bowl over a pan of simmering water, and whisk until mixture reaches 70°C (160°F) and sugar has dissolved, about 5 minutes.

With a mixer fitted with the whisk attachment, beat egg white mixture on high speed until cooled and thick, about 5 minutes. Reduce speed to medium, and add butter, 1 tablespoon at a time, beating until incorporated after each addition. If mixture is runny at this point, refrigerate for 10 minutes and then continue beating until it starts to hold its shape (this can take a while). Mix in bitters gradually, taste testing as you go. You want the bitters flavour to be quite strong, as it will mellow when sandwiched between the macaron shells. Spoon or pipe buttercream on to macaron shells, sandwiching one lime and one lemon shell together for each macaron with a small dab of lemon lime curd in the centre. Refrigerate overnight in an airtight container to allow the flavours to mature, serve at room temperature.
lemon_lime_bitters_macaron-26

Sunday, July 24, 2011

Raspberry Cupcakes and the new raspberricupcakes.com!

raspberry_devil_cupcakes-2
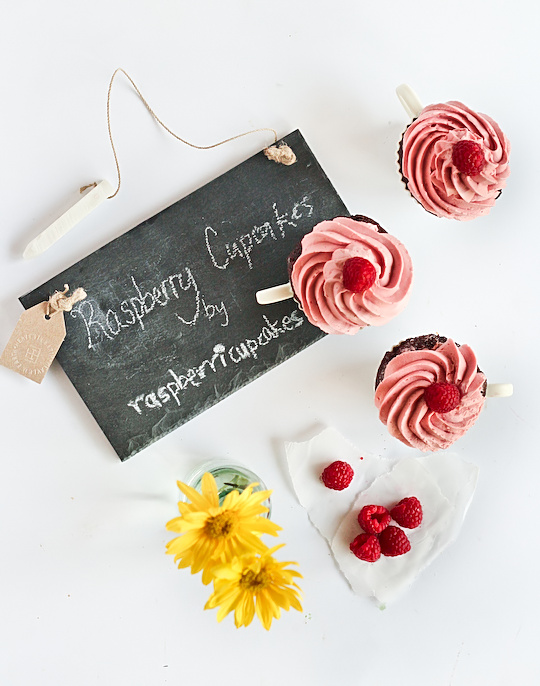
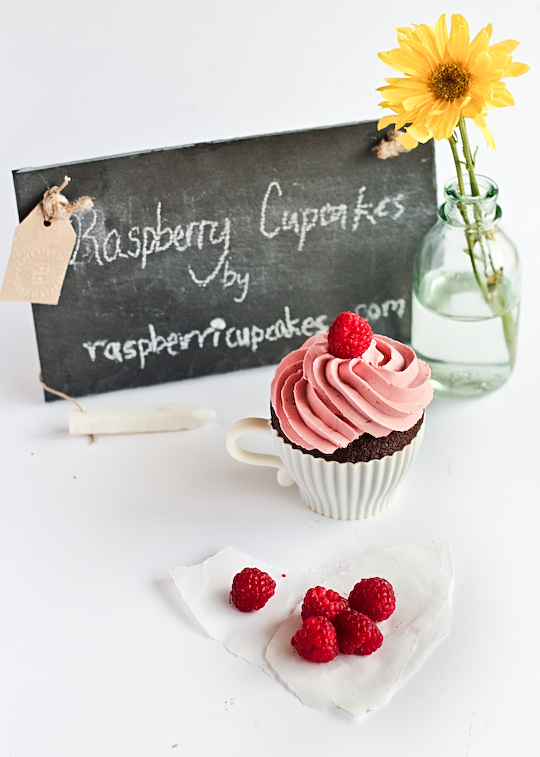
Hello! You may have noticed some changes on the blog in the past week. I've finally got my act together and moved my blog to a custom domain! I'm still cleaning up a little bit here and there but you can now officially find this blog at www.raspberricupcakes.com! All the old URLs should redirect to the new domain, but please go ahead and update any links and bookmarks. Along with this change I also have an adorable new banner designed again by the lovely Lisa from spicyicecream. She's a star! It's been almost exactly a year since she designed Neville the angry cupcake for me, and while it was difficult to let him go (he's still in the favicon!) I love the new, cleaner layout. It also means I can post bigger photos! And to celebrate, I made a batch of raspberry cupcakes.
raspberry_devil_cupcakes-5
There are a few other small changes; you can now subscribe to my blog via email. I know a couple of readers were asking for this feature, so I hope it works! You might also notice the new navigation panel up the top where I finally moved the recipe index to its own page. I'll get around to finishing the other pages up there at some point. Please feel free to let me know if you find any issues with the new layout, I'm totally useless at this kind of stuff (apparently a degree in Computer Engineering does not prepare you for having a blog in any way). But it was definitely time for a change! There's no particular milestone that I can associate it with, other than a few cool things like reaching 300 posts not long ago and the main URL reaching 1000 Facebook 'likes' (but obviously the counter on the sidebar got reset to zero when I updated the button to point to the new URL, what a bummer!). I'm still not going to start a facebook page for the blog, I am way too lazy to maintain it. Look how long it took me to get around to making these changes! I hope you like the new look and will keep coming back to visit :)
raspberry_devil_cupcakes-3
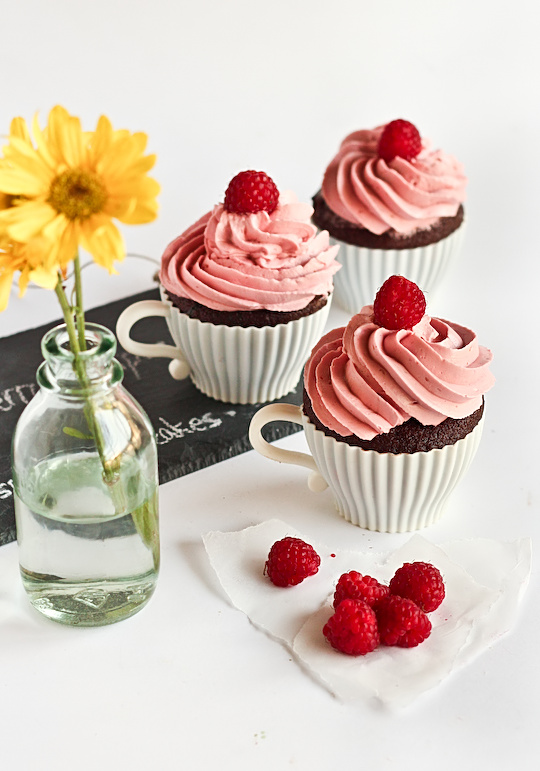
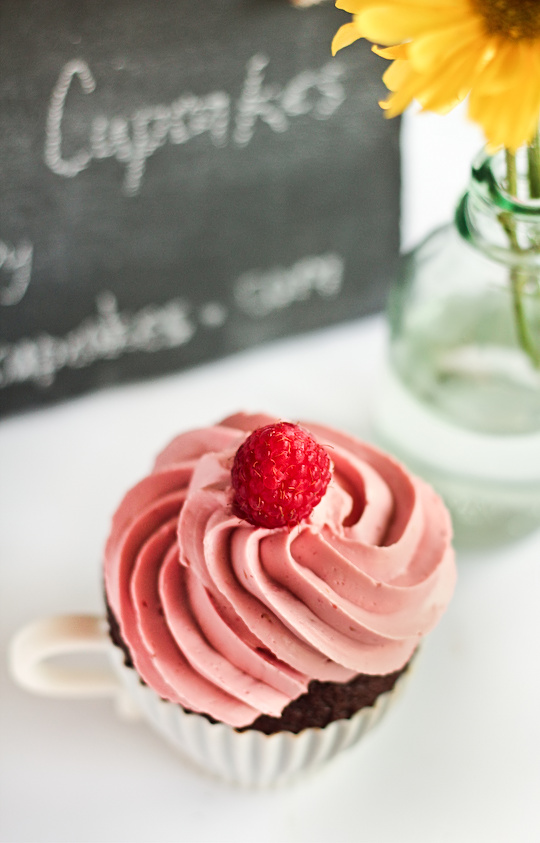
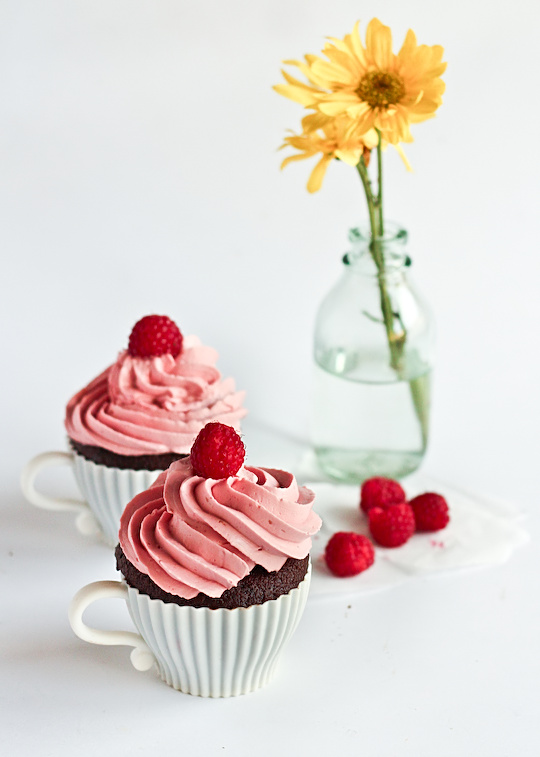
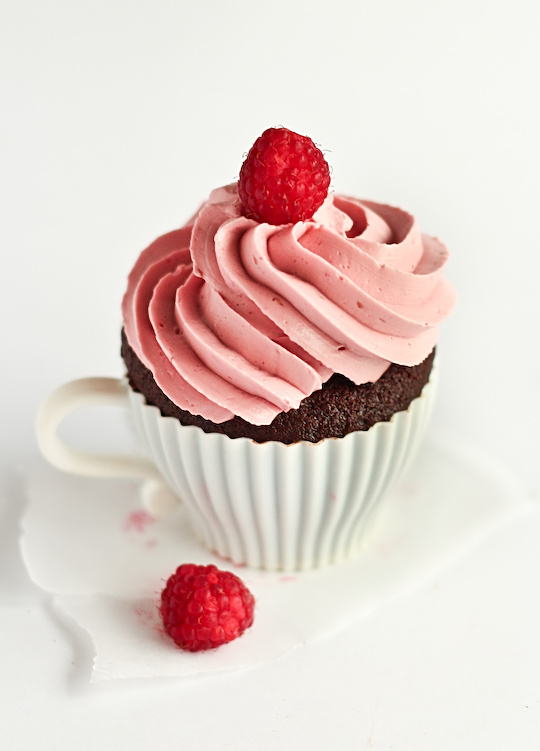
So with that housekeeping out of the way, let's talk about these cupcakes. I wanted to revamp my 'raspberry cupcake' recipe, since the photos from the old version are so meh (though the recipe is not, I love those flavours). I also really wanted to try David Lebovitz's recipe for Devil's Food Cake after hearing Karen rave about it. I ended up making Devil's Food Cupcakes with Raspberry Buttercream. Insanely delicious. I used the Swiss Meringue Buttercream which I made for my Peach Melba Macarons and it worked like a charm. The sweet, creamy icing was just right for the dark, moist chocolate cake. The cake is so good, I knew it would be before it even finished baking because the raw batter looked luscious and tasted amazing already (I think Karen might have mentioned that too). Since it was my first time using the recipe, I underestimated how much the cake would expand, so filling the cupcake papers 3/4 full like I do for some other recipes was wayyy to much and it spilled over and didn't look as pretty as I had hoped. But they were still salvagable!
raspberry_devil_cupcakes-6
The buttercream took longer than I remembered to whip to the right consistency, I always have that stage where the Swiss Meringue buttercream splits, but eventually it smoothes out to that beautiful airy, buttery texture. I don't think I would be bothered to do the Swiss meringue buttercream if I didn't have my KitchenAid, so I totally understand if you try this recipe with a regular butter icing version. My cupcakes were all nicely piped and topped with fresh raspberry (ridiculously expensive since they're out of season but worth it just for the photos, thanks again Lisa! I told you she was a star.), then I arranged them just like they look below and I picked up my brand new camera to take the first shot when my fingers slipped and my camera dropped to the ground, right on top of two perfectly iced cupcakes. THE HORROR. Buttercream everywhere. Sooo if the icing on a couple of these cupcakes looks a bit iffy, it's because I had to scrape it off and repipe it! Luckily the camera seems to be okay. But you'd be right to guess that there was a lot of panicked shrieking and swearing.
raspberry_devil_cupcakes
Devil's Food Cupcakes with Raspberry Buttercream
(Makes about 15-20 cupcakes, adapted from David Lebovitz's Devil's Food Cake recipe)
9 tbsp unsweetened cocoa powder (I used Dutch-process)
1 1/2 cups cake flour (not self-raising, I just used plain flour)
1/2 tsp salt
1 tsp bicarb soda
1/4 tsp baking powder
4 ounces (1 stick) unsalted butter, at room temperature
1 1/2 cups caster sugar
2 large eggs, at room temperature
1/2 cup strong coffee (or water)
1/2 cup whole or low-fat milk

For the Swiss Meringue Raspberry Buttercream:
4 large egg whites
1 cup caster sugar
250g (about 1 cup) unsalted butter, room temperature
1/2 tsp pure vanilla extract
1 1/2 cups fresh or frozen (and thawed) raspberries
Optional: fresh or frozen extra raspberries to decorate
(If you're new to making Swiss meringue buttercream, these wonderful tutorials from two of my favourite bloggers will help troubleshoot any problems you might have)

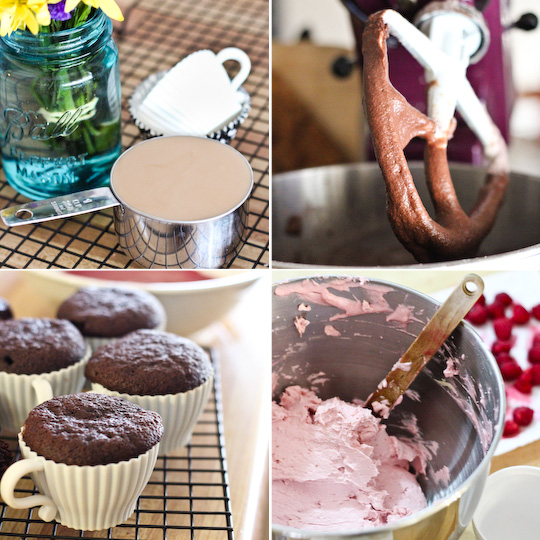
Line cupcake tray with cupcake papers and preheat oven to 180°C (350°F). Sift together the cocoa powder, flour, salt, bicarb soda, and baking powder in a bowl. Using an electric mixer with a large mixing bowl, beat together the butter and sugar about 5 minutes until smooth and creamy. Add the eggs one at a time until fully incorporated.

Mix together the coffee and milk. Stir half of the dry ingredients into the butter mixture, the add the coffee and milk. Finally stir in the other half of the dry ingredients. Spoon into cupcake cases, filling about 1/2 full (cake will rise quite a bit). Bake for about 20-25 minutes, or until a skewer inserted into the centre of a cupcake comes out clean. Remove from the oven and cool in tin about 5 mins, then place on a wire rack and cool completely before icing.
raspberry_devil_cupcakes-13
To prepare the raspberry buttercream, puree raspberries, strain to remove seeds and set aside. Whisk together egg white and sugar in a large heatproof bowl. Clip a candy thermometer to side of bowl. Set bowl over a pan of simmering water, and whisk until mixture reaches 160°F and sugar has dissolved, about 5 minutes.

With a mixer fitted with the whisk attachment, beat egg white mixture on high speed until cooled and thick, about 5 minutes. Reduce speed to medium, and add butter, 1 tablespoon at a time, beating until incorporated after each addition. If mixture is runny at this point, refrigerate for 10 minutes and then continue beating until it starts to hold its shape (this can take a while). Beat in raspberry puree and vanilla. Place in a piping bag and ice cupcakes. Top with a fresh raspberry and serve immediately. Can be stored in an airtight container for a couple days.
raspberry_devil_cupcakes-12

Sunday, July 17, 2011

Homemade Apple Pie Pop Tarts

apple_pie_poptarts-2
It's been ridiculously cold recently. I kind of love it. People tend to look at me funny when I say that I love winter, but as I've mentioned before on this blog I get super cranky in the heat and humidity of summer. I like how the air smells on those crazy cold nights. This kind of cold weather makes me crave apple pie.
apple_pie_poptarts
There are just some desserts that I will only eat in the middle of winter. Piping hot apple pies full of delicious chunks of juicy apple goodness along with a big scoop of vanilla ice cream is one of them. It has to be flavoured with plenty of spices and wrapped up in a very short, buttery pastry.
apple_pie_poptarts-10
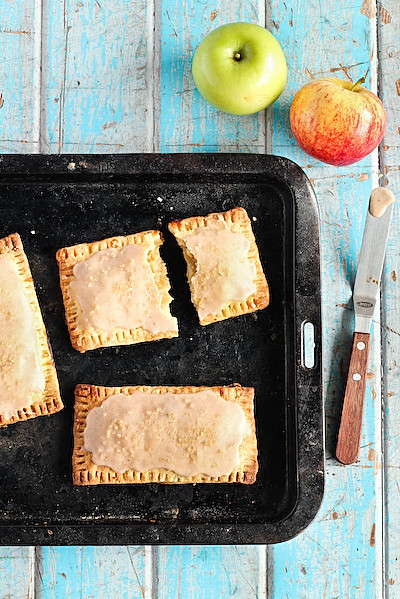
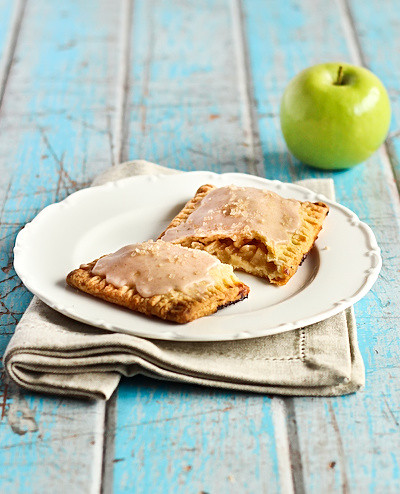
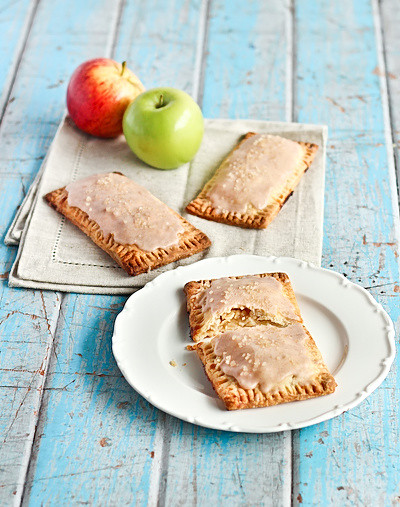
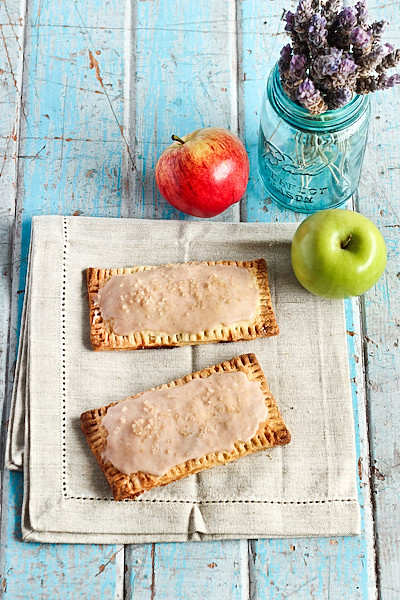
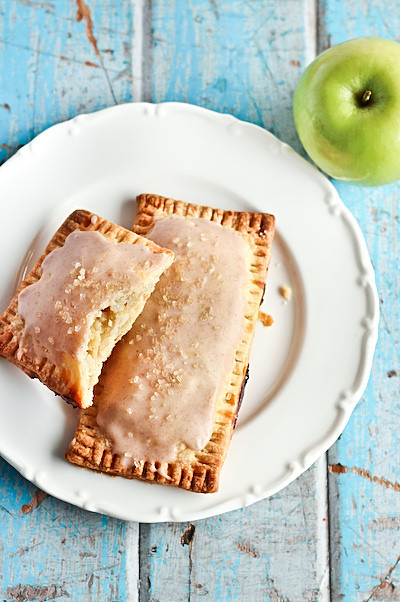
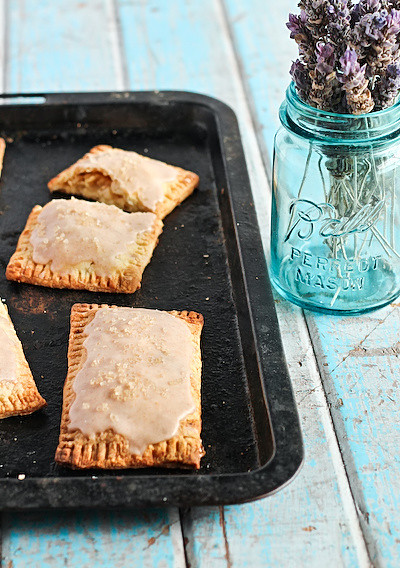
When Lisa made us these amazing cherry pop tarts with vanilla bean glaze, I immediately put them on my must-try list of recipes and every now and then I would wistfully dream about the thin flaky pastry and that amazing glaze. This weekend I finally found the time to try out the recipe and satisfy my apple pie cravings by making these Apple Pie Pop Tarts with a Cinnamon Glaze.
apple_pie_poptarts-9
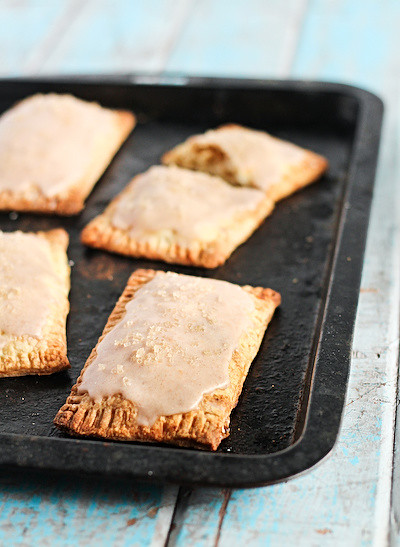
I just had one for breakfast today and they are amazing. The pastry recipe is perfection, the dough is super easy to work with and handle, plus it stayed flaky and short even though I had to re-roll the scraps several times. I loved how thin I could roll the pastry so that the pop tarts were wonderfully delicate to bite into.
apple_pie_poptarts-3
I went through a phase where I was having strawberry pop tarts every morning for breakfast. If it wasn't pop tarts, it was cocoa pops. It seems that I used to like starting the day off with an insane amount of sugar (I'm more of a bacon and egg type of girl these days). Pop tarts aren't as readily available in Australia, so it's great to have a recipe for a homemade version. Plus as Lisa mentioned, it's all made with real butter and no corn syrup. And it's wayyyy tastier.
apple_pie_poptarts-8
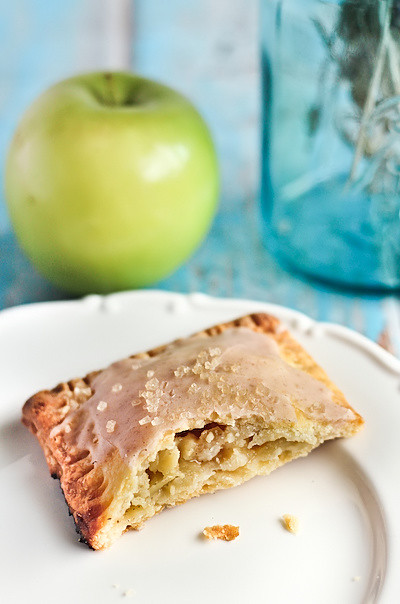
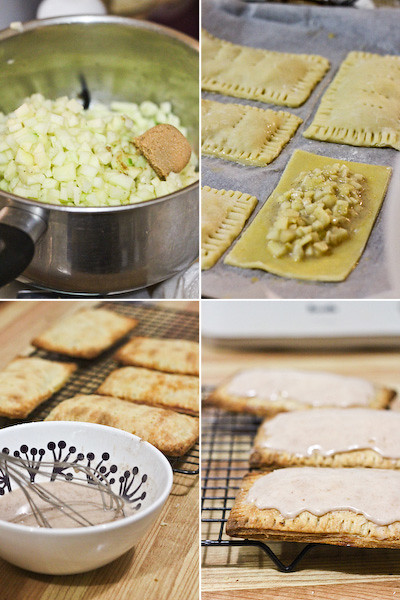
The apple pie filling is quite simple. I freaked out a bit when I cooked up the apples as they released so much juice, so I added a bit of gelatin powder to the mixture but I don't think it really needed it. The mixture seems to dry out quite well in the oven thanks to the flour that is added. I tried not to add too much sugar to the filling so it is quite tangy, since the pop tart is covered with that beautiful cinnamon glaze. The apples are mixed up with a bit of cinnamon and real vanilla bean, and when you get a mouthful of the mixture, with that light pastry, the spiced glaze and a little crunch from the sugar crystal you will cry. Then you can come thank me :)
apple_pie_poptarts-6
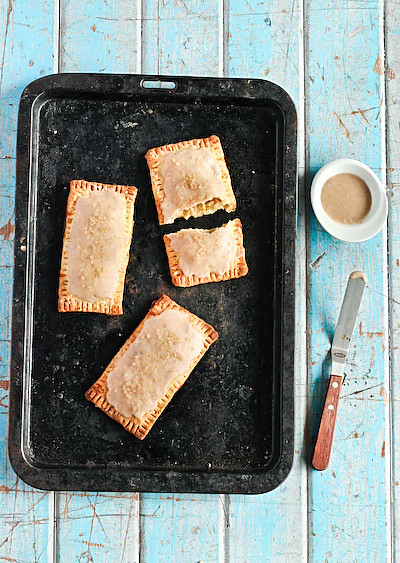
The glaze is a bit tricky to get right. If it's too runny it won't hold it's shape on the top of the mixture and will just go everywhere. I found the best way to get it right was to keep whisking in small amounts of icing sugar and then spooning it on to a tart to see how long it would take to settle, using the spoon to scoop up the stray drips. It's definitely worth investing the time to get the glaze just right, so that it has that thin layer that almost shatters as you bite into it. Just heavenly.
apple_pie_poptarts-4
Apple Pie Pop Tarts with Cinnamon Glaze
(makes 8, adapted from spicy icecream's recipe)
3-4 apples, peeled and finely chopped (about 3 cups worth), I used a mixture of Granny Smith and Royal Gala but you can use any good baking apples
Juice from half a lemon
1 vanilla bean pod
1 tbsp (14g) butter
1 tbsp brown sugar
1 tbsp glucose syrup (optional, can be replaced with another tbsp of brown sugar)
1 tbsp flour

For the pastry:
2 cups plain flour
2 tbsp sugar
1 tsp salt
225g unsalted butter, cold, cut into cubes
1 large egg
2 tbsp milk
1 large egg, for brushing the dough

For the glaze:
1 cup icing sugar, sifted
1 1/2 tbsp milk
1/2 tsp ground cinnamon
Optional: granulated or raw sugar crystals

Prepare the filling first. Place butter in a medium saucepan on medium-low heat until it goes golden brown, then add chopped apple, lemon juice, brown sugar, glucose and vanilla bean (split and seeds scraped) and return to the heat. Stir regularly until apples are slightly more tender and liquid has reduced slightly, about 5-10 minutes. Remove from the heat and cool completely. Add flour and stir to combine, then chill while preparing the pastry.

In the bowl of a food processor, combine flour, sugar and salt. Add the cold butter and pulse until only pea sized lumps remain in your mixture. In a small bowl, beat the egg with the milk. Add the mixture all at once to the dry ingredients and pulse until moisture is introduced to all of the flour mixture. Lightly dust a clean surface with flour and knead the dough until it starts to hold together. Divide the dough in two, wrap in plastic wrap and refrigerate for about 30 minutes.
apple_pie_poptarts-18
Remove one piece of dough from the refrigerator. On a well floured surface, roll the dough out to 3mm thick. Trim the dough into rectangles 14 x 8cm (this is why my stainless steel ruler is one of my most used kitchen utensils). Place the dough rectangles onto 2 baking trays lined with baking paper and refrigerate while you prepare the second piece of dough in the same way. Brush one set of 8 squares with a beaten egg. This will act as the glue for the top layer of dough. Spoon 1 1/2-2 tbsp of apple filling into the center of each brushed dough square (you may want to drain some of the excess liquid from the filling first). Top with a second piece of dough and use a floured fork to crimp the sides closed. Use the tines of the fork to create vent holes in each tart.

Preheat the oven to 180°C (350°F). Let the tarts rest in the fridge while the oven preheats. Bake for 25-30 minutes or until golden brown on top. While the tarts bake, whisk together the icing sugar, cinnamon and milk for the glaze and set aside. Let baked tarts rest on a cooling rack to cool completely before glazing. If glaze is too runny, gradually sift more icing sugar into the mixture until it reaches the correct viscosity. Sprinkle a small amount of sugar crystals over each tart. When glaze has set, serve immediately or store in an airtight container. Best served within 2 days, warmed up for 20-30 seconds in the microwave.
apple_pie_poptarts-7

Sunday, July 10, 2011

Pandan Lamingtons

pandan_lamingtons-18
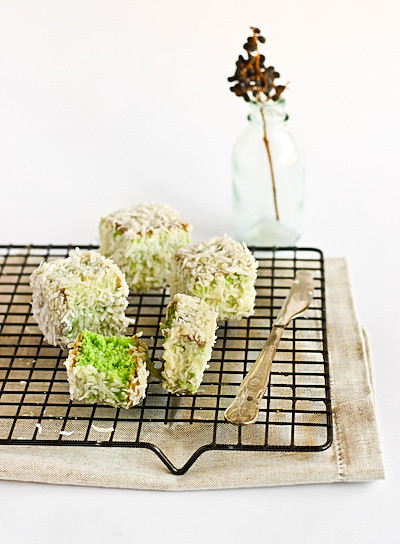
Lamingtons. They are so quintessentially Aussie. We all have our preferences, some of us swear by the classic version, some like the cream/jam filled ones. And then there's pandan. It's leaves are so widely used in Malaysian dishes that it was a total shock to my system when I came back to live in Sydney 11 years ago and found that hardly anyone had heard of it. I've been over the moon with the gradual increase in Malaysian cuisine in Australia, and the eventual appearance of pandan in desserts, like Dan Hong's pandan chiffon cake on Masterchef (my only gripe is that they kept pronouncing it on the show like 'pang-dang' which made me cringe so friggin much. It's meant to be pronounced more like 'pahn-dahn').
pandan_lamingtons-14
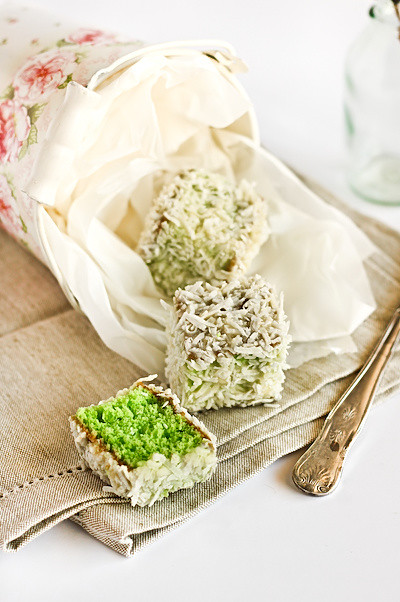
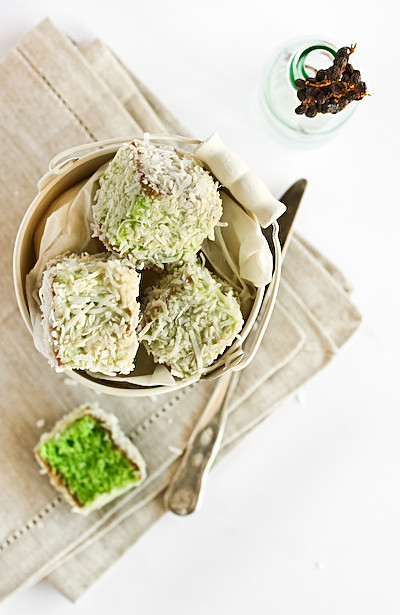
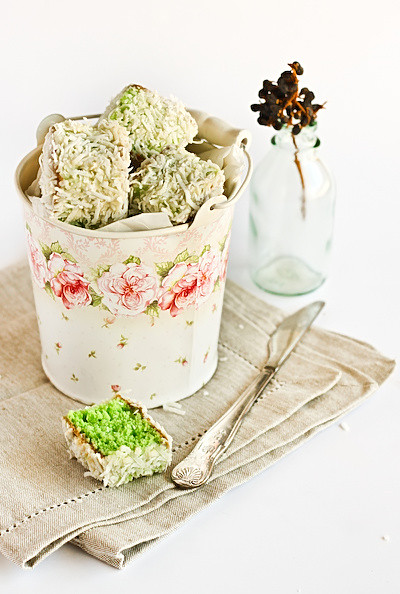
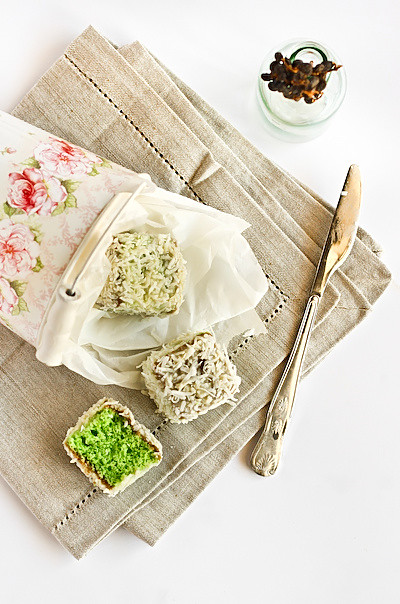
I've put these elements together, one totally Australian and the other bringing me straight back to Malaysia, to create these Pandan Lamingtons. Lamington purists will probably be totally offended by this bright green monstrosity but if there was ever a dessert which I would use to describe myself, this would be it. It brings together my two loves, my happy childhood memories in Australia and my love of Malaysian food (including my Mum's awesome cooking). They may not be the prettiest cakes ever but they are wonderful to eat. I'd been planning them for ages and I'm quite pleased with the way they turned out.
pandan_lamingtons-20
I adapted a recipe for plain lamingtons by adding some pandan essence paste to the sponge cake. It was quite convenient that the recipe used a chocolate ganache rather than a cocoa icing for the coating, as I was able to switch it to white chocolate ganache which was a much better match for that lovely soft & fluffy green pandan cake. Coconut and pandan are always perfect together, plus the shredded coconut on the outside is exactly the type of coconut that they use in Malaysian desserts and kuih. The finished lamingtons even remind of Malaysian kuih with that hint of green hiding underneath the layer of coconut (which was a total accident, the white chocolate ganache ended up being a lot more transparent than I had expected).
pandan_lamingtons-19
Pandan Lamingtons
(makes about 32, adapted from this Gourmet Traveller recipe)
8 eggs
250g caster sugar
3/4 tsp pandan paste (more if you use the more watery pandan essence)
250g plain flour
30g unsalted butter, melted
400g shredded coconut

For the white chocolate ganache coating:
600g white chocolate
300ml pouring cream (min. 35% milk fat pure cream)

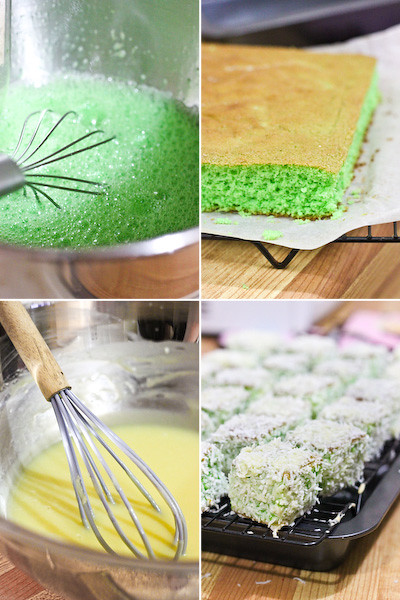
Preheat oven to 190°C (375°F). Grease and line the base with baking paper in a 24x32cm lamington tray, or two 20cm square cake tins. Whisk eggs, pandan paste and sugar in a heatproof bowl (it will be freakishly green at this point but don't worry, it will lighten after you whip it) over a saucepan of gently simmering water for 5-10 minutes or until warm (about 40°C/105°F), lighter and frothy. Transfer to an electric mixer and whisk on high speed in a large mixing bowl for 10 minutes or until mixture has tripled in volume. Sift over plain flour in batches and, using a metal spoon, fold gently to combine between additions. Just before adding the last of the flour, fold through melted butter. Pour into prepared tin(s) and bake in centre of oven for 20 minutes or until a skewer withdraws clean. Stand in pans on wire racks for 10 minutes, then turn out onto racks and cool completely.
pandan_lamingtons-12
For the white chocolate ganache coating, combine chocolate and cream in a heatproof bowl over a saucepan of gently simmering water. When chocolate begins to melt, stir gently until combined and smooth and set aside in a warm place.

Scatter shredded coconut over a tray. Cut sponge into 4-5cm squares. Using 2 forks, dip each square into the ganache and shake to remove excess. (If ganache starts to thicken, place bowl over gently simmering water to thin.) Roll each square in coconut, shake off excess and place on a wire rack (sitting over a tray). Stand for at least 1 hour or until chocolate sets. Store in an airtight container in a cool dry place for up to 3 days.
pandan_lamingtons-21

Sunday, July 3, 2011

Red Velvet Melting Moments

red_velvet_melting_moments-2
Time has been flying along way too fast for me. I often wonder how people manage to keep up with all the crazy amounts of things they need to balance in their lives, since I find it pretty much impossible. Inevitably one aspect of my life gets messy and neglected at some point (it usually ends up being the housework since I am a total slob). It boggles my mind that it's July already.
red_velvet_melting_moments-4
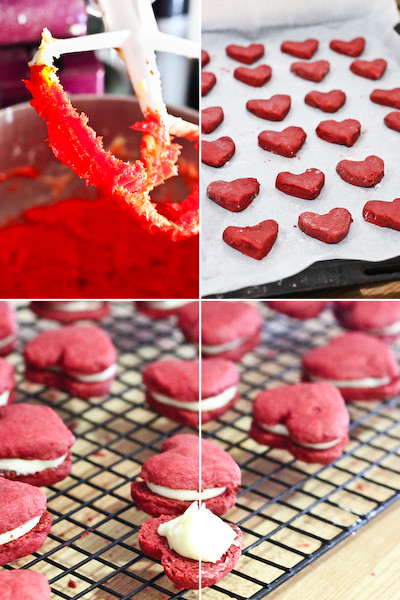
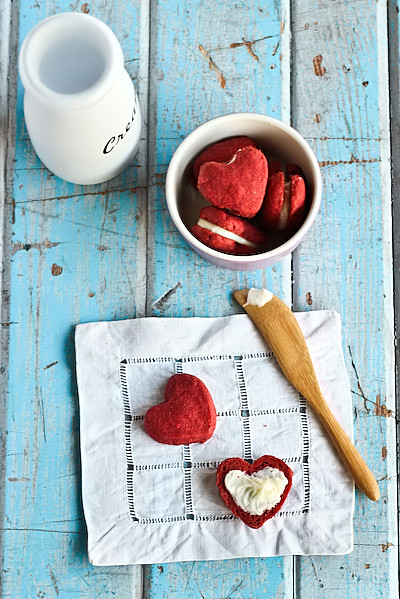
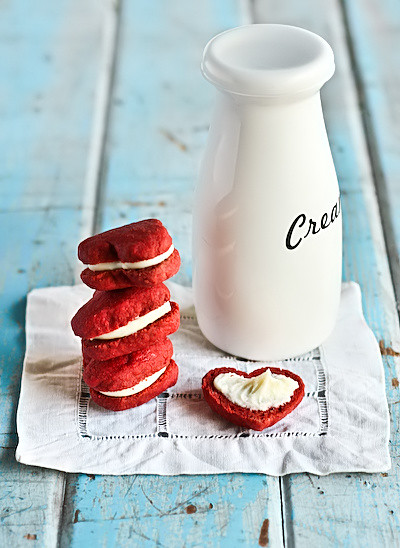
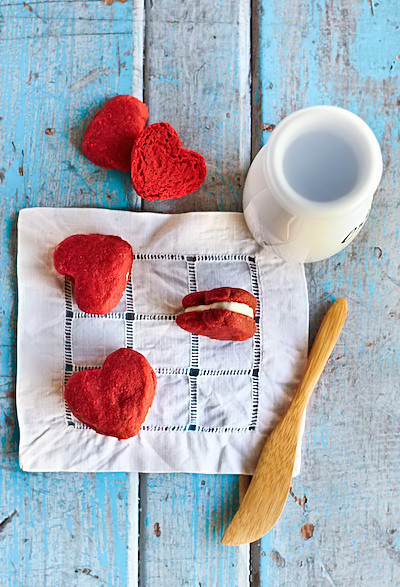
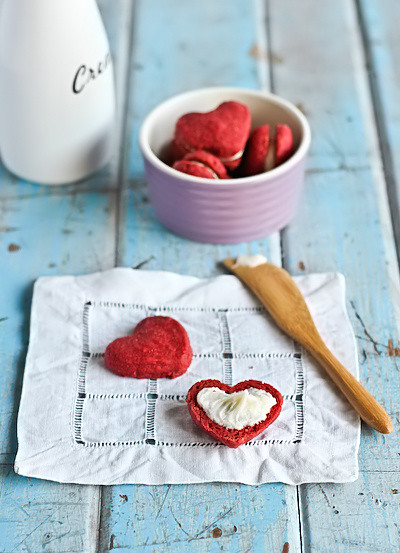
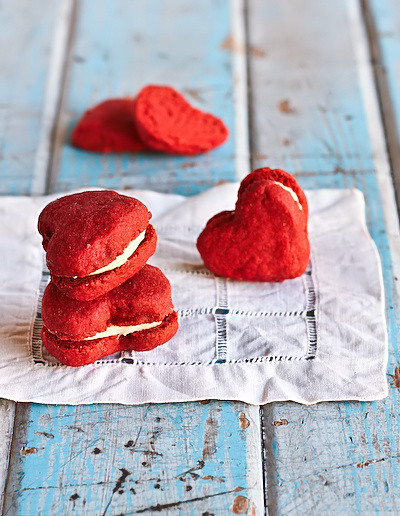
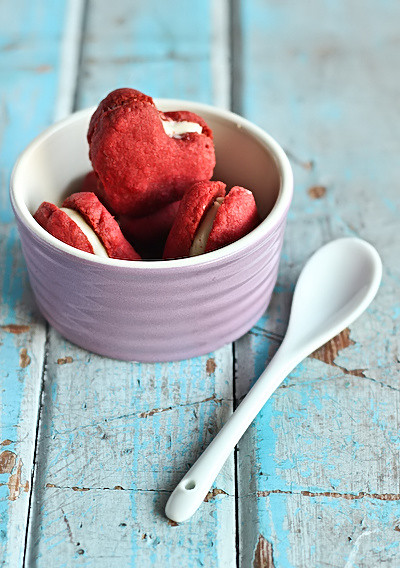
Luckily my blog has never been the thing to be completely neglected in the last few years. It's probably because it's my hobby, with no obligations and nothing that makes it feel like work. It'll be sad if that ever changes. Unfortunately my baking ideas can't keep up with how fast time flies seeing as I came up with a lovely, simple idea for a Valentine's Day baking project months too late. Check out these Red Velvet Melting Moment Biscuits, melt-in-your-mouth shortbread biscuits (also known as yoyos) sandwiched with fluffy cream cheese icing. I couldn't resist making them heart-shaped, even though it does remind me of the red velvet whoopie pies that I saw around Valentine's day. I have issues with whoopie pies. These are much better.
red_velvet_melting_moments-3
I adapted these from the same recipe I used for my Neopolitan Melting Moments, cos they were so full of awesome. These ones have a bit of cocoa and a ton of red food colouring and taste so great with the smooth cream cheese icing. I was originally planning to try this icing for the filling but I had leftover cream cheese and couldn't let it go to waste. It worked out great since the biscuits are so delightfully light that they needed that bit of richness and tang from the cream cheese.
red_velvet_melting_moments-6
This recipe is incredibly easy and quick to whip up, the only fiddly part is pressing the dough into the little heart shapes. Of course there's no need for the heart shapes, you can just roll and press regular rounds of dough for normal melting moments, but I love the hearts. I also love that A came home the other day with a chopped up chunk of an old, worn blue wooden door from his work because he remembered that I saw it once and ranted about how perfect it would be for photos. We love him.
red_velvet_melting_moments-5
Red Velvet Melting Moments
(adapted from this Gourmet Traveller recipe, makes about 24 biscuits)
250g soft, good quality unsalted butter
80g icing sugar, sifted
1 tsp pure vanilla extract
About 1 tbsp liquid red food colour, adjust as you like (I used gel colouring, which only needed about 2 tsp)
75g (1/2 cup) cornflour (cornstarch)
225g (1 1/2 cups) plain flour
1 tbsp cocoa powder (preferably Dutch-processed)
1/2 tsp salt

For the cream cheese icing:
113g cream cheese
1 tbsp (14g) butter
1 cup (150g) icing sugar, sifted

Preheat oven to 180°C (350°F) and line two baking sheets with baking paper. Using an electric mixer, beat butter and sugar until light and fluffy. Add red food colouring and vanilla and beat until just combined. Sift flours, cocoa powder and salt over butter mixture and, using a wooden spoon, stir to form a soft dough. If you are making heart shapes you may want to chill your dough for about 10 mins before you start to shape them, to stop the butter in the dough melting from the heat of your hands.
red_velvet_melting_moments-11
Keeping your fingertips lightly floured, press heaped teaspoons of dough into heart shapes that are about 0.5cm thick and 3.5cm wide and place on baking sheets (do not knead your dough, work it as little as possible). I could fit about 24 biscuits on each sheet. Bake for 12 minutes or until lightly coloured. Stand biscuits on trays for 5 minutes, before transferring to wire racks to cool completely.

To prepare the icing, remove the cream cheese and butter 30 mins before starting. Beat cream cheese and butter in a large mixing bowl with an electric mixer on high until smooth and fluffy. Add sifted icing sugar and beat until smooth. Spoon on to cooled biscuits and sandwich together. Can be served immediately or stored in the fridge in an airtight container.
red_velvet_melting_moments