Pages

Monday, February 27, 2012

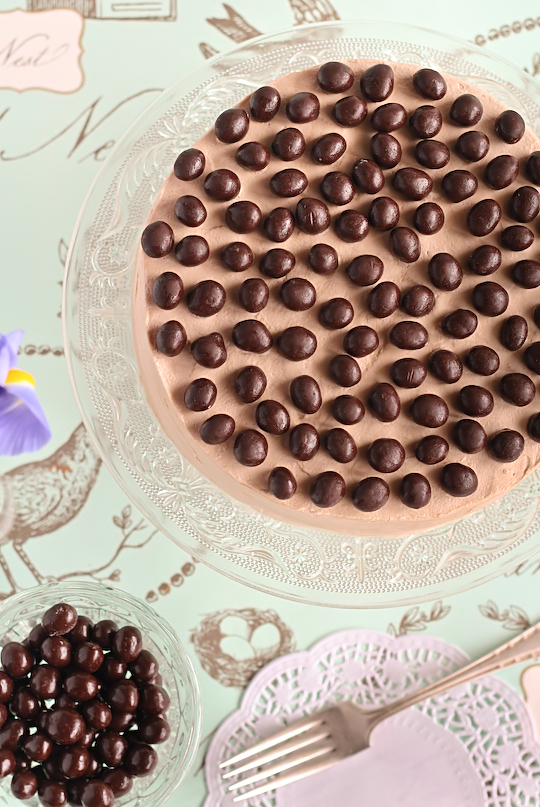
Mocha Marble Cake with Choc Coffee Beans

mocha_marble_cake-3
I'm not exactly sure how it happened. I used to be one of those people who almost never drank coffee, who would gloat at the people who would stumble around bleary eyed until they had their morning caffeine hit, who would get by on cups of tea with my breakfast. But somehow, I have recently become completely dependent on coffee. I no longer feel human until I've had my morning jolt. I blame the many months of sleep deprivation and stress from to juggling work, wedding planning and well, a lot of other personal crap. I thought I had managed to avoid it. Other than a brief love affair with large mochas in my first year of uni, I was always a tea girl. Now I'm a tea and coffee girl. And I love hot chocolate and milo too. I'm a hot beverage slut...
mocha_marble_cake-2
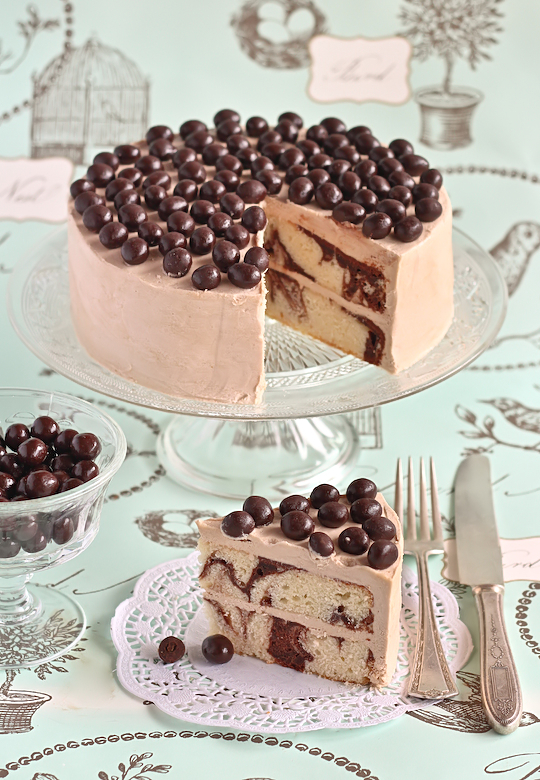
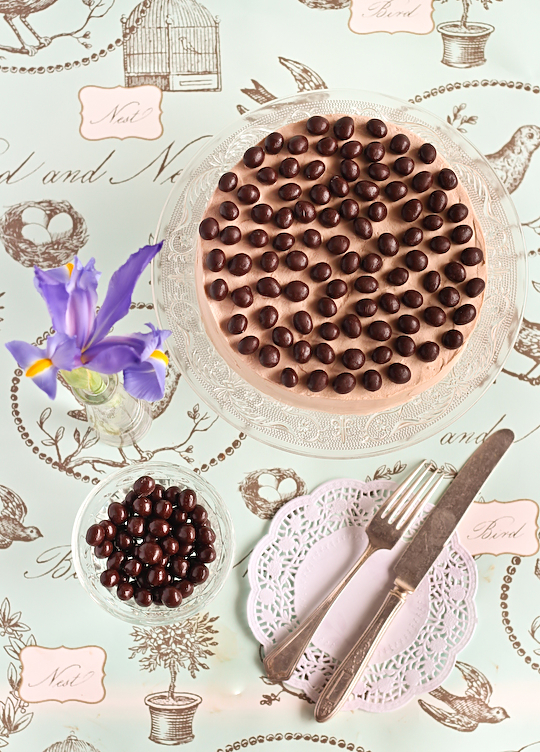
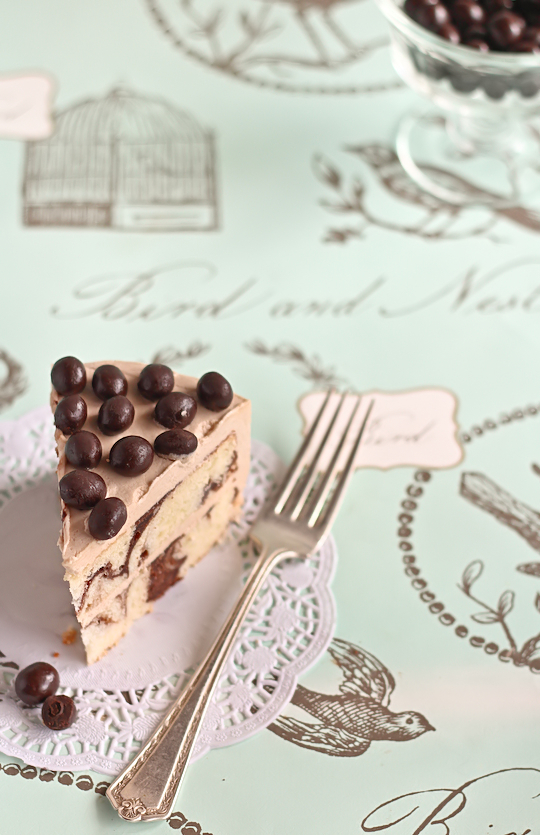
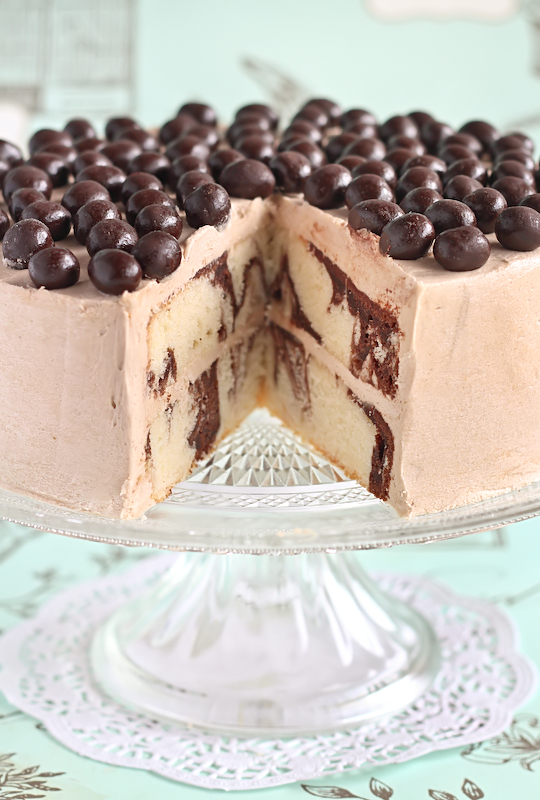
Even though I never used to drink coffee, I've always quite enjoyed coffee in desserts. Tiramisu, affogato, coffee cheesecake, all good with me. I thought I'd celebrate my new love of coffee with a layered cake that was lightly layered with coffee and cocoa. I decided to make a classic marble cake, but instead of just swirling vanilla and chocolate cake batter together I also added a bit of coffee to the chocolate batter. And then a slathered the whole thing in a very fluffy and light icing with just a hint of chocolate and coffee. I didn't want the coffee flavour to be too intense and overpowering, and it turned out just like I hoped. Then I covered the whole thing in lots of dark chocolate covered roasted coffee beans, for that extra hit of coffee flavour and bitterness. So good! Though you will probably be bouncing off the walls after having a slice of this, especially if you have a cup of coffee on the side.
mocha_marble_cake-7
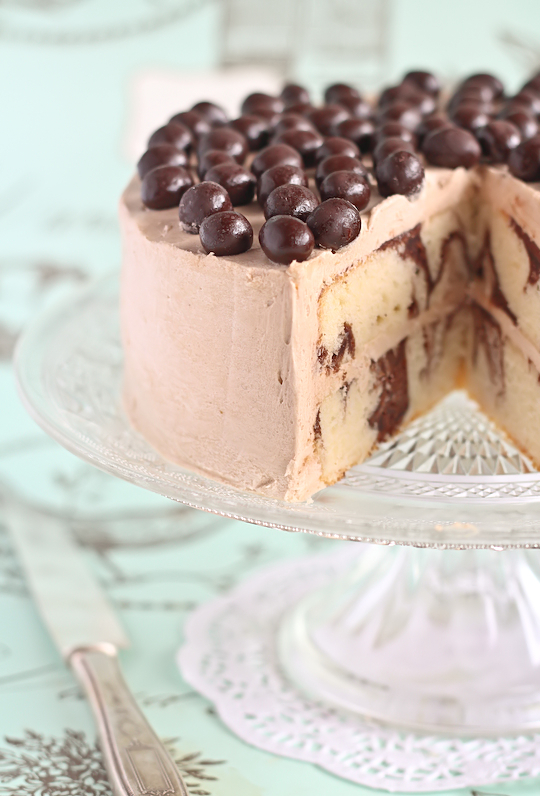
I adapted my mocha marble cake recipe from Martha Stewart's best marble cake recipe. I might have gotten the ratio of vanilla to mocha cake batter slightly off as the marbling is on the light side, but the flavour is spot on. I love this cake. It's not too sweet, with just a hint of coffee and not enough to make it bitter (though make sure you don't use super crappy coffee or it will be bitter). It's soft, fluffy, with a very fine crumb and the buttermilk ensures that it's not the least bit dry. I would have preferred to have made at least another layer of cake to give it some impressive height, but I only had enough butter to make two. We go through a lot of butter in my house.
mocha_marble_cake-5
You could eat the cake on its own if you were feeling guilty about the masses of sugar and butter in the icing. But I'd rather eat a delicious slice of icing-covered cake (translation: happiness-covered cake) on the rare occasion as a treat, rather than have a less tasty, butter-free, sugar-free version more often. Plus it would be a shame to miss out on this luxurious icing. It's whipped up to be as light as a cloud, it's so creamy and smooth and the lovely mocha flavour lingers lightly on your tongue as you eat it. The added crunch and bitterness of the coffee beans on top is a good contrast in texture and flavour.
mocha_marble_cake-4
Mocha Marble Cake with Chocolate Covered Coffee Beans
(makes one 18cm round cake, adapted from Martha Stewart's Marble Cake recipe)
For the mocha marble cake:
115g (1 stick) unsalted butter, room temperature, plus more for greasing
220g (1 3/4 cups) cake flour (not self-rising, I used 190g plain flour + 30g (3 1/2 tbsp) cornstarch as per these instructions)
2 tsp baking powder
1/2 tsp salt
225g (1 cup) sugar (I used caster sugar)
3 large eggs, room temperature
1 tsp pure vanilla extract
2/3 cup buttermilk, room temperature
1/4 cup boiling water + 1 tsp instant coffee granules (or 1/4 cup freshly brewed coffee)
1/4 cup Dutch-process cocoa powder

For the mocha icing:
250g salted butter (or unsalted butter + 1/4 tsp salt)
575g (about 4.5 cups) icing sugar , sifted
1/4 cup milk
1 tsp instant coffee granules
1 tsp cocoa powder
Optional: Chocolate covered roasted coffee beans to decorate (I got mine from Captain Coffee)

Preheat oven to 180°C (350°F), grease and line the base of two 18cm round cake tins with baking paper. (You can also use a 20cm tin but the layers will be thinner, I used one 18cm tin and baked one layer after the other) Sift flour, baking powder and salt into a bowl and use a whisk to combine, set aside. Place butter and sugar in a large mixing bowl and beat on high with an electric mixer until light and fluffy. With the mixer on medium speed, add eggs one at a time until combined, scraping down the sides of a bowl with a spatula when needed. Add vanilla and beat again until combined. Add flour mixture in 2 batches, alternating with the buttermilk and beginning and ending with the flour. Place 1/3 of the mixture in a separate bowl.

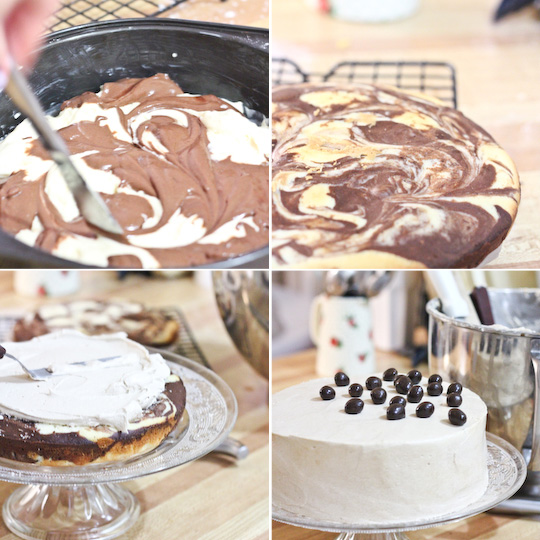
In a small bowl, mix the cocoa, instant coffee granules and 1/4 cup of boiling water, whisking until it is smooth. Gently mix into the separated bowl of cake batter until combined. Spoon half the vanilla batter and half the mocha batter into the prepared cake tin, and the other half of each batter into the other prepared tin, alternating spoonfuls of vanilla and mocha to simulate a checkerboard. Run a table knife through the batter in each tin to create a swirl effect. Bake for 25-30 minutes or until a skewer inserted into the centre of each cake comes out clean. Cool in tin for 10 minutes and then remove from tin and cool completely on a wire rack. Cakes can be made the night before assembly, wrapped in clingfilm and chilled.
mocha_marble_cake-14
Prepare the mocha icing; remove the salted butter from the fridge 30 mins before starting. Place butter in a large mixing bowl and beat on high with an electric mixer until light and fluffy. Place milk, coffee granules and cocoa in a small bowl and whisk until dissolved (I zapped the bowl in the microwave for 15 secs to help it dissolve faster) I use a food processor to get the lumps out of my icing sugar, to save me a lot of sifting. With the mixer on low, gradually add icing sugar until combined, then increase speed and gradually add coffee mixture. Beat on high until fluffy and well-combined. You may need to add more sifted icing sugar if your icing is too runny. It should be smooth and fluffy, easy to spread but stiff enough to hold its shape.

Assemble your cake; if the cakes are slightly domed in the centre you can use a long serrated knife to level the tops of the cake. Place one cake layer on your cake stand and use a spatula to smooth a decent layer of icing over the top of it. Sandwich other cake layer on top and then crumb coat the whole cake with more icing. Chill in the fridge for at least 15 minutes to set the crumb coat. Cover whole cake evenly with the rest of the icing, using an offset spatula to smooth the surface (regularly running the spatula until hot water will help with smoothing it). Decorate the top of the cake with chocolate covered coffee beans. Chill for at least another 30 minutes before serving. Can be stored in an airtight container in the fridge for several days.
mocha_marble_cake-6

Tuesday, February 21, 2012

Earl Grey & Poppy Seed Muffins

earl_grey_poppyseed_muffins
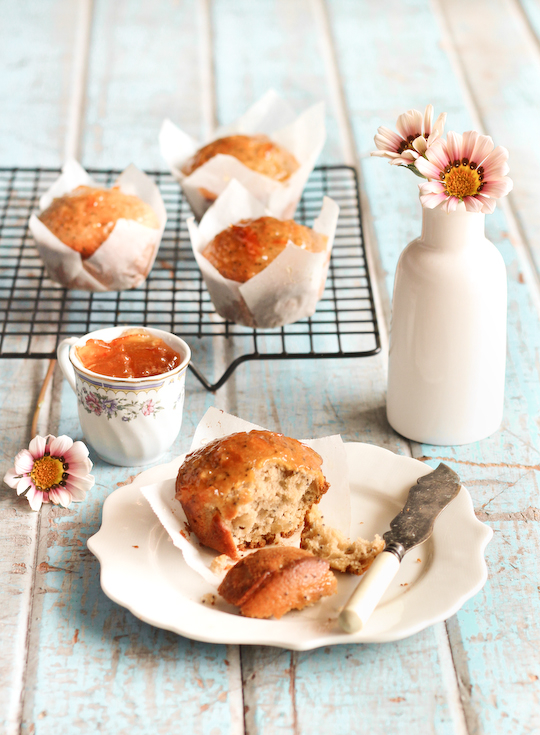
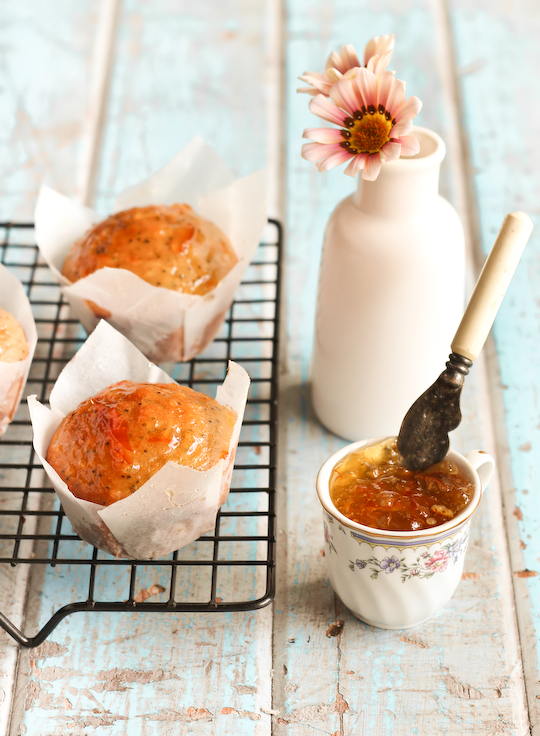
Keeping it simple. That's what I was talking about in my last post. And that's exactly what I did when I decided to bake these. Can you believe this is the first muffin recipe I've ever posted on this blog? What can I say, I'm a cupcake girl. Muffins always seem boring and naked in comparison to pretty cupcakes covered in icing and sprinkles. But now that I think about it, I probably eat more muffins on a regular basis than cupcakes. It's that wonderful trick you play on yourself with food items that are half a step away from having cake for breakfast. I'm a sucker for orange and poppy seed, blueberry and warm chocolate chip muffins with my morning coffee. But for some reason I almost never bake them.
earl_grey_poppyseed_muffins-7
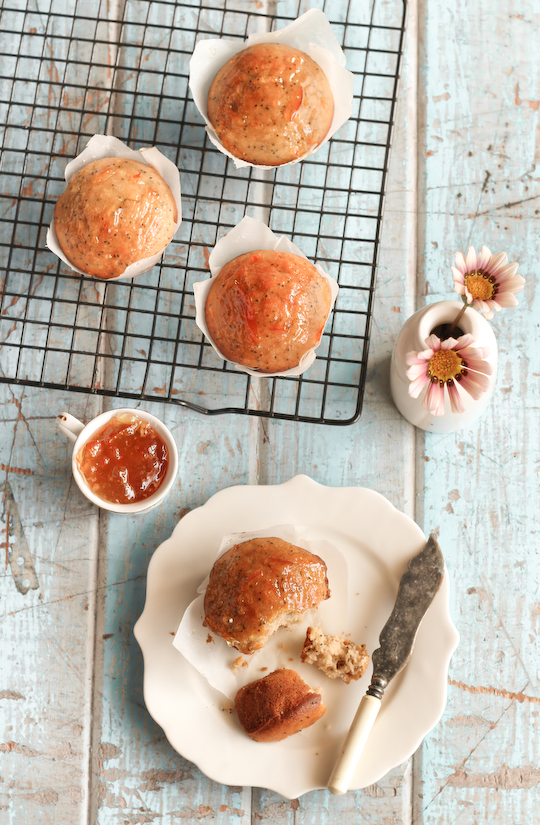
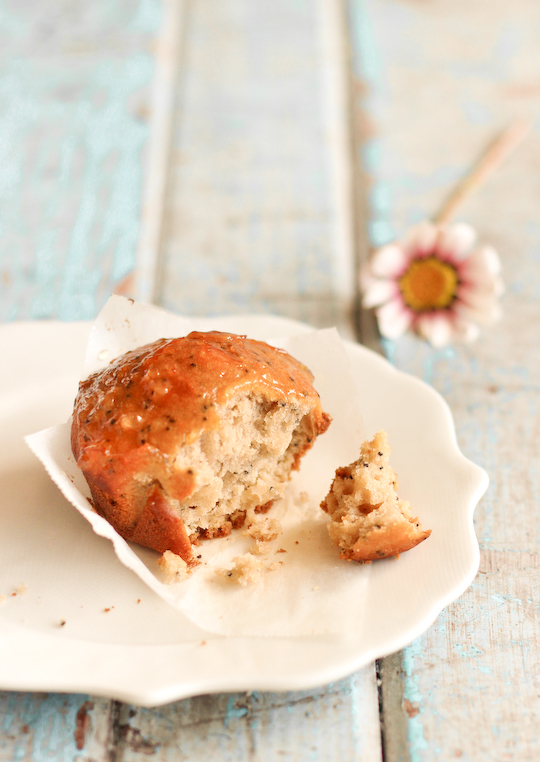
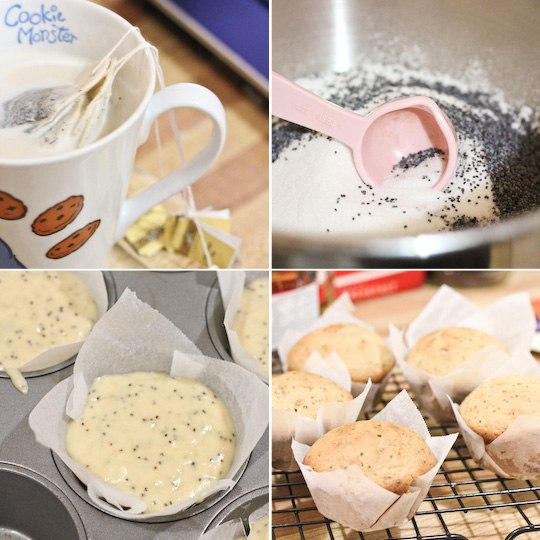
I decided to adapt a regular orange and poppyseed muffin recipe, replacing the orange zest and juice with the citrusy fragrance of Earl Grey tea. The beautiful & girly Earl Grey Cake with Rhubarb Cream Cheese Glaze that I posted last year turned out to be a surprising favourite of mine, and I've been determined to bake more with the tea. I infused it into warm milk as part of this recipe and it filled the muffins with that unmistakably wonderful flavour and smell. Just lovely. The best part about muffin recipes is how easy they are to whip up; all mixed up in one bowl without the need for your electric mixer. No fancy paper liners either, just some small squares of baking paper.
earl_grey_poppyseed_muffins-5
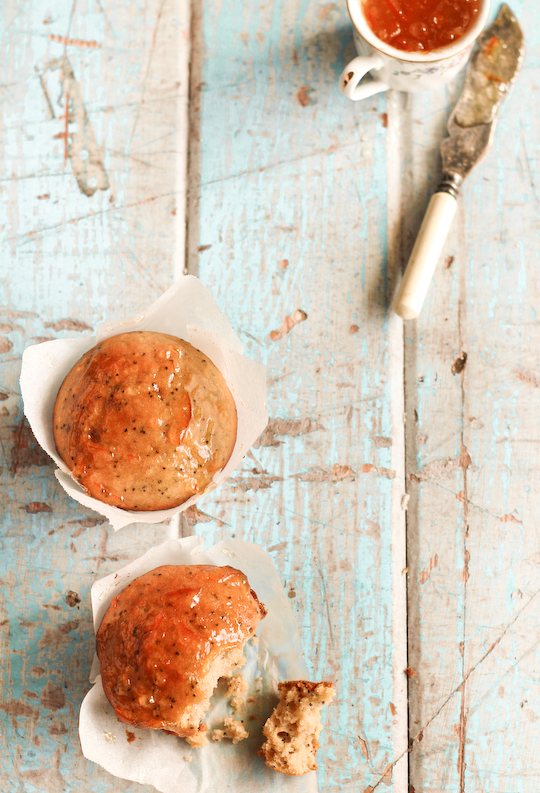
I glazed the tops with warm marmalade, it's a fantastic extra touch of sweetness. Though don't be lazy like me and just brush it straight on to the tops of your muffins without stirring the lumps out of it. Of course you could just serve the muffins unglazed and slather them with a much larger portion of marmalade, which is what I did for breakfast this morning. These muffins beg to be enjoyed with a giant cup of tea.
earl_grey_poppyseed_muffins-2
Earl Grey & Poppy Seed Muffins with Marmalade Glaze
(makes 12 muffins, adapted from this Orange & Poppy Seed Muffin recipe from Taste.com.au)
4 Earl Grey Tea bags (or about 4 tsp loose tea leaves)
250ml (1 cup) milk
375g (2 1/2 cups) self-raising flour
155g (3/4 cup) caster sugar
1 tbsp poppy seeds
125g (1 stick plus about 1 tbsp) butter, melted
2 eggs, lightly whisked
To glaze or serve: marmalade or apricot jam

Preheat oven to 180°C (350°F) and line a 12-hole muffin/cupcake tin with liners or folded squares of baking paper. Warm the milk until it is nearly boiling in a small saucepan, then add tea bags set aside to infuse and cool. Place sifted flour, caster sugar and poppy seeds in a large mixing bowl and stir to combine. Add milk mixture, butter and eggs and use a whisk to gently combine until smooth. Spoon mixture into the prepared tin and bake for 25 minutes or until a skewer inserted into the centre of a muffin comes out clean. Try your best not to over-bake them as it will dry them out.
earl_grey_poppyseed_muffins-16
Remove muffins from the oven, remove from pan and cool on a wire rack. While the muffins are still warm, place marmalade or apricot jam (about 1/2 cup) in a small saucepan and stir over low heat until runny. Brush the tops of each muffin with marmalade. Alternatively you can serve the muffins warm with marmalade to spread. Best served with tea. Can be stored in an airtight container at room temperature for several days.
earl_grey_poppyseed_muffins-6
EDIT: You MUST check out this post from one sheepish girl, who made a not only made these muffins but also made the most perfect video for it. It is so darn adorable, I want to give it a hug and pinch its cheeks. Go watch it now.

Sunday, February 19, 2012

Roasted Garlic & Gruyere Cheese Toasties

cheese_toastie-3_filtered
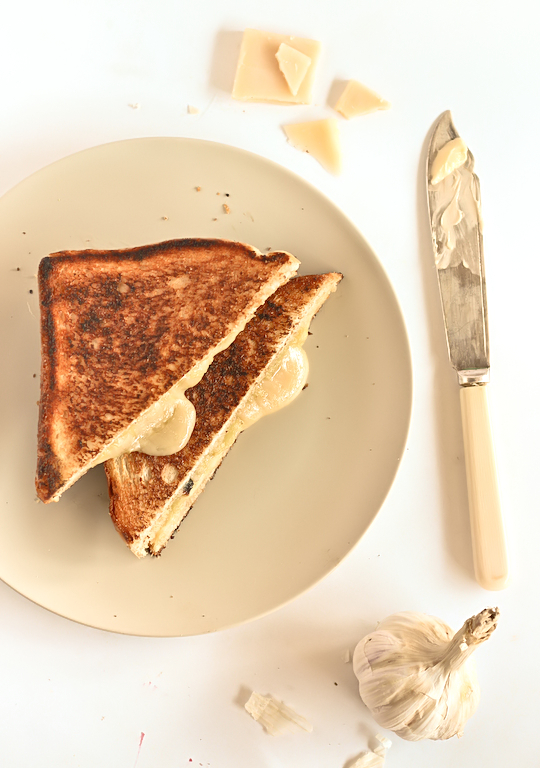
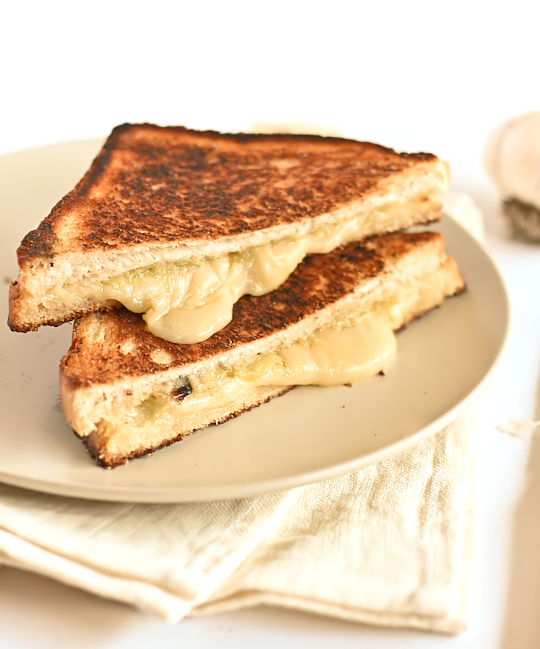
I don't have a proper recipe post for you today. I seem to be suffering a bit of baker's block again, and I didn't want to force the issue by baking something when I didn't feel like it. So yesterday, instead of baking, I woke up super late and I made myself a cheese toastie (aka a grilled cheese sandwich to those in the US) for lunch. I recently had an eye-opening experience with a cheese toastie at the Gazebo Wine Garden and I have been craving them ever since. So I made a very simple sandwich with bread, butter, cheese and garlic. In case it's not obvious from 99% of my blog, I love my sugar. But I love cheese and garlic nearly as much. I'm sure everyone has their own favourite way of making a grilled cheese sandwich, and this is now officially my favourite version. I fried this baby up in butter (wishing I had invested in a cast iron griddle), using a nifty trick I read about online to cover the pan with a lid to help the cheese melt faster before the bread burns. It was golden and crunchy on the outside with a perfectly melted inside. This cheese toastie was good. Effing good. Like the combination of a regular boring cheese sandwich and garlic bread plus a sprinkling of fairy dust. So good that I made another one straight away. And I made one for A and took a photo of it because sharing is caring. Then I ran out of cheese and weeped silently to myself.

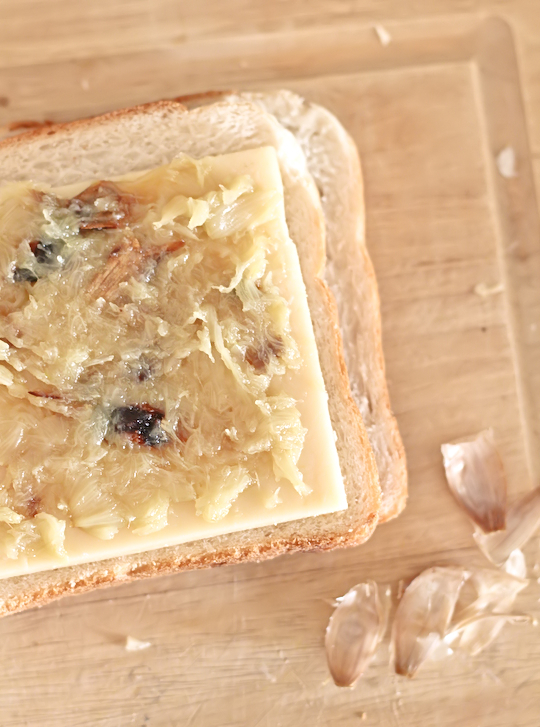
Roasted garlic is something truly magical, it's sweet, soft, buttery and mild enough to eat on its own, and doesn't give you anywhere near as crazy garlic breath as the garlic sauce from El Jannah (not that the death breath ever stops me from eating it by the bucketload). It might look like a lot of garlic to be eating on its own but the way it's cooked means it's much easier to eat. The caramelisation makes it lovely and sweet, which is the perfect addition to that beautiful melty, creamy gruyère cheese in this toastie. It's something so easy and uncomplicated, but your tastebuds will be so freakin happy they might get up and do a little dance. So this isn't really a recipe as it's just a humble grilled cheese sandwich, more like a public service announcement; if you love cheese and garlic as much as I do, you want to be eating this right now. Sometimes it's best to keep things simple, to go back to the basics. Of course gruyère isn't exactly cheap, but it is so worth splurging for it every now and then.
cheese_toastie-2_filtered
Roasted Garlic & Gruyère Cheese Toasties (Grilled Cheese Sandwiches)
Per sandwich:
1 head of roasted garlic (I prepared it using this recipe from Simply Recipes)
30g (2 tbsp) unsalted butter
2 slices white bread (I grew up with the regular, super processed full of sugar bread so I love it but you can use another bread if you want)
1 fairly thick (about 4 mm or 1/6 inch) slice of Gruyère cheese (or any other good melting cheese you prefer)

Remove the roasted garlic cloves from the head and mash in a bowl. Place cheese on top of one side of bread and spread the mashed roasted garlic over the cheese, top with other slice of bread. Using a non-stick pan or a cast iron griddle, place on medium-low heat with a 15g (1 tbsp) butter and heat until the butter completely melts. Place sandwich in pan, so that the cheese is closer to the bottom of the pan, then cover the pan with a lid or a piece of foil. Fry until the cheese melts and the bread has turned golden brown, about 3 minutes, and then add the same amount of butter to the pan, flip the sandwich over and fry until golden. Eat immediately, try not to make any excessive moaning noises while enjoying the melted cheesy goodness.
cheese_toastie-5_filtered
I was in such a good mood after eating these that I got back in the kitchen and baked something equally simple and satisfying. I guess you just have to stick to the basics every now and then. So I'll be back with a proper baking post in a couple of days.
cheese_toastie-4_filtered

Monday, February 13, 2012

Sticky Date Madeleines with Butterscotch Sauce

sticky_date_madeleines
I am in desperate need of a hug. I'm not afraid to say it. I've been hiding in my house for most of the last two days with some eye issues, feeling sorry for myself and waiting for my eyes to fix up. So I really needed some comfort food. One of the most comforting desserts has to be the sticky date pudding. It holds a special place in my heart. It's one of the first desserts that my brother and I learnt to make together, and we would whip up a giant portion and eat it with tons of butterscotch sauce and vanilla ice cream until we felt totally ill. It's just one of those great winter desserts that makes you happy.
sticky_date_madeleines-3
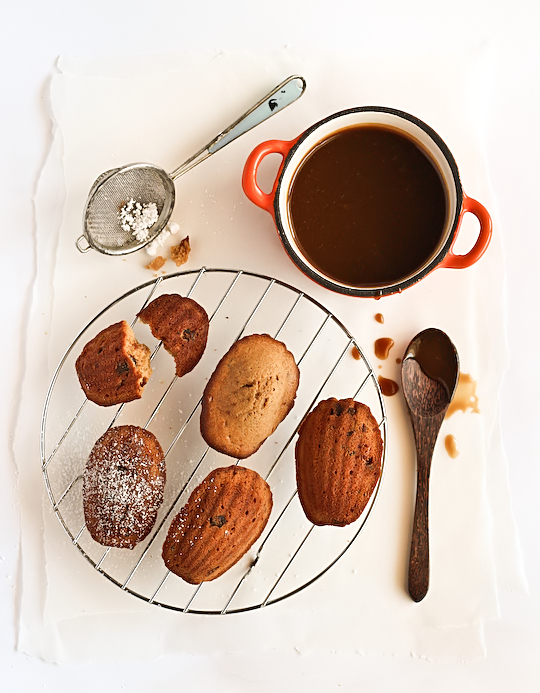
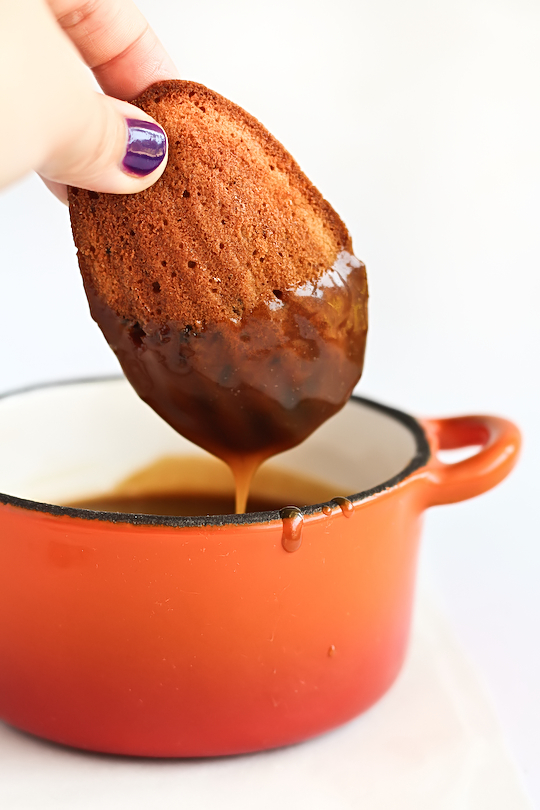
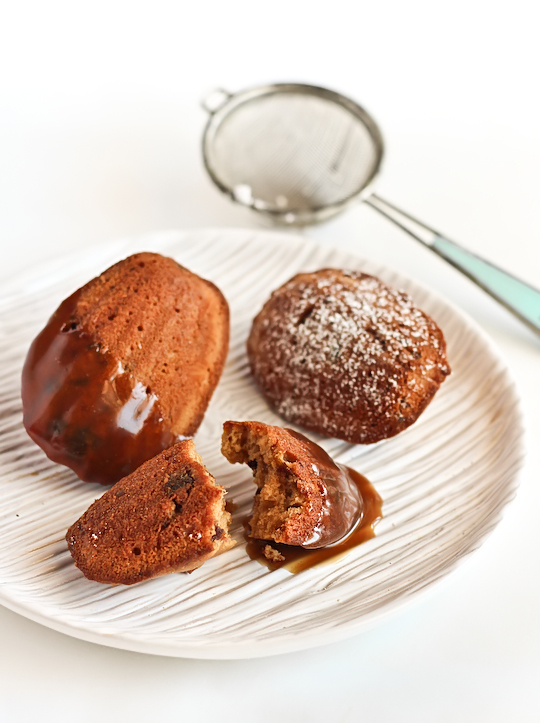
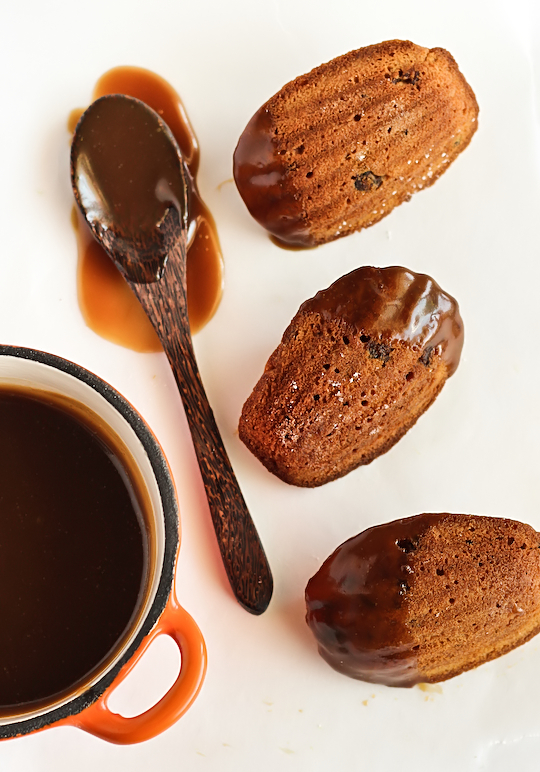
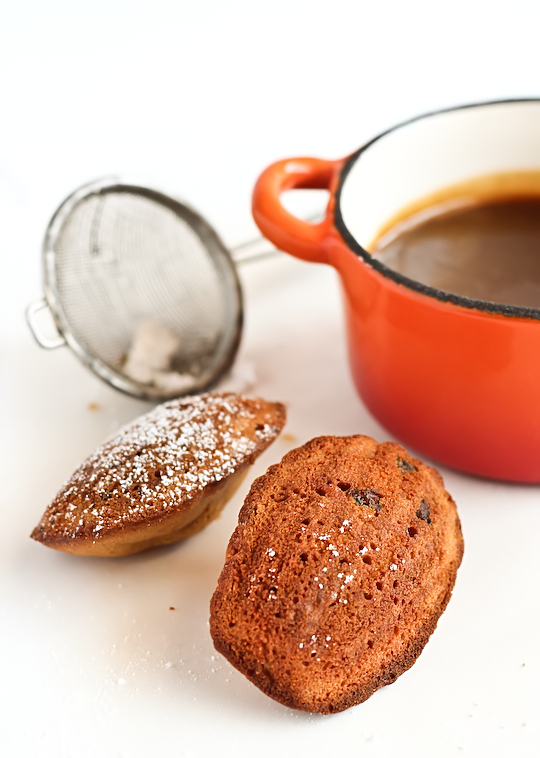
Even with the un-summery weather we've had in Sydney this summer, it's still not quite chilly enough to have me craving the rich warmth of a regular sticky date pudding. Sometimes I find them a tad too heavy and sickeningly sweet, especially the butterscotch sauce. So I decided to do something in the same vein as a sticky date pudding but without the heaviness. I made these sticky date madeleines with a butterscotch dipping sauce. Check out that sexy dipping action shot. Oh yeah.
sticky_date_madeleines-7
I love love love madeleines. They are fluffy, buttery clouds of shell-shaped sponge cake happiness. But I'm still a little traumatised from the week where I could not bake a decent madeleine to save my life. It was the baking equivalent of the yips. I've never been so confident about a recipe and had so many successful attempts at it, only to have it completely fail over and over again. I've always thought that a real madeleine doesn't use any chemical leavening, but that week I eventually gave up after numerous failures and used self-raising flour just so I could stop making shell-shaped pancakes. The other day I came across Gourmet Traveller's madeleine recipe and they use baking powder in the batter. I've never had a failure with a GT recipe, so why should I argue with them? I decided to give it a go, but instead of a regular lemon madeleine, I adapted it to be a brown sugar and golden syrup madeleine with chunks of dates. It smells so good while it's baking in the oven.
sticky_date_madeleines-8
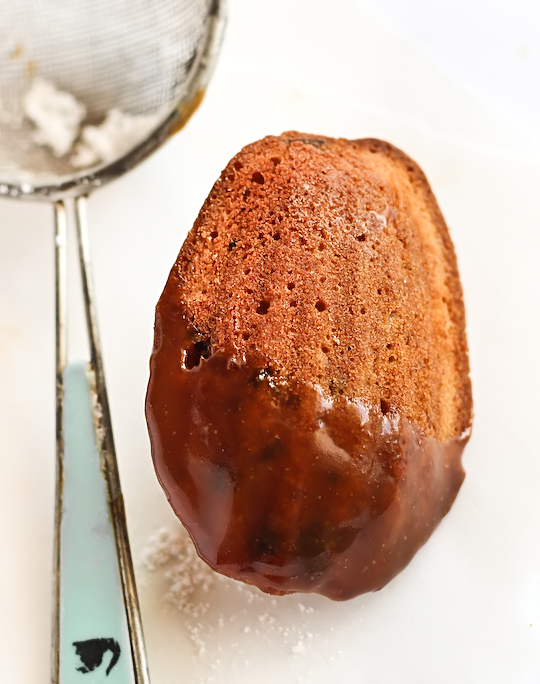
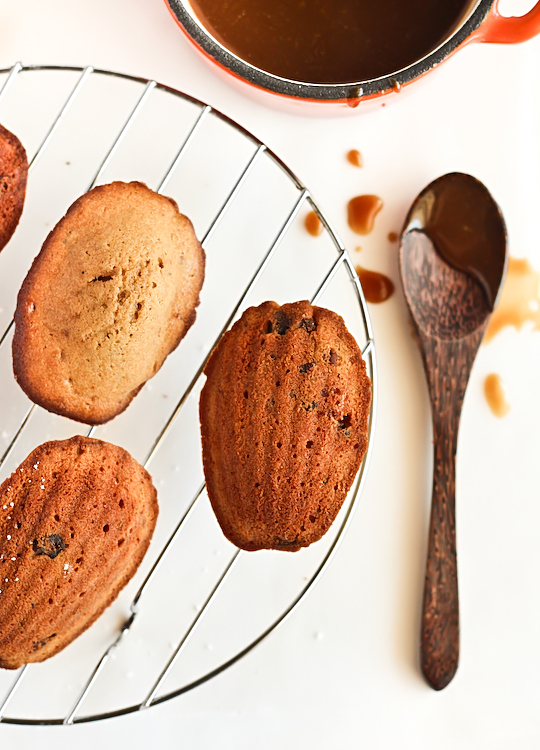
The one thing that the GT recipe really emphasised was the necessity for resting the batter. I've heard this plenty of times on madeleine recipes, but always ignored it since I had never done this from the very start. And I am too impatient. But I decided to give it the proper overnight resting time to see what difference it made. Ohhh what a difference. The madeleines emerged from the oven with the most GLORIOUS humps (that signature bump on the top of each madeleine, which makes you do the same kind of dance around your kitchen as when you see feet on your macarons). Glorious! So even though I'm still stuck on the idea that a madeleine shouldn't have chemical leavening in the batter, this recipe is very reliable and the madeleines turn out beautifully. And I can use it without fear of failure.
sticky_date_madeleines-5
As for the butterscotch sauce, it's a pretty basic one. You can't go wrong with butterscotch sauce. I did use salted butter for mine, which helps balance it out a little so it's not sickeningly sweet. I really insist you make the sauce if you're going to make the recipe. I specifically adjusted the madeleines so they wouldn't be too sweet to eat with the sauce. Together they tastes like a miniature, lighter sticky date pudding. It's the finger food dessert equivalent of the pudding. It's pretty fantastic.
sticky_date_madeleines-6
Sticky Date Madeleines with Butterscotch Sauce
(makes about 24, adapted from Gourmet Traveller's Madeleine recipe)
NOTE: This recipe needs to be started several hours ahead of time or the night before
120g (about 1 stick) butter
100g dates, pitted and finely chopped
3 eggs, at room temperature
120g (about a packed 1/2 cup) brown sugar
1 tbsp golden syrup
A pinch of salt
175g (approx 1 1/4 cups) plain flour, sifted
1 tsp baking powder

For the butterscotch sauce:
1/2 cup cream
25g (about 2 tbsp) salted butter (or unsalted butter + 1/2 tsp salt)
100g (a bit less than half a cup) brown sugar
1/2 tsp pure vanilla extract

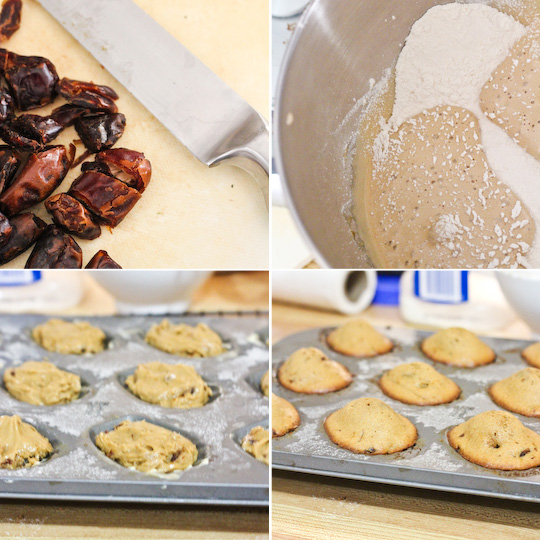
Melt butter, either in a saucepan over low heat or zap it in the microwave for a about a minute, set aside so it cools to room temperature but stays liquid (about 2-3 mins). Whisk eggs, golden syrup, brown sugar and salt in a large mixing bowl with an electric mixer on high speed until pale, fluffy and tripled in volume (about 4-5 minutes). Sift over flour and baking powder and fold until just combined. Fold in butter mixture a little at a time until just combined. When you are about to add the last bit of butter, fold in the chopped dates until just incorporated. Cover with clingfilm and refrigerate for at least 4 hours or overnight.
sticky_date_madeleines-14
Remove batter from the fridge. Preheat oven to 180°C (350°F) and butter two 12-hole madeleine trays very well and then lightly dust with some flour. (I only have one madeleine tray so I baked one batch after another, regreasing the tray, and it worked fine). Spoon mixture into madeleine holes, filling them up about 2/3-3/4 full. Tap the tray firmly on the bench to expel any bubbles. Bake for 8-10 minutes, or until golden and cooked through. Tap tray to remove madeleines.

Prepare the butterscotch dipping sauce; place cream, butter, sugar and vanilla in a small saucepan and stir over low heat until butter and sugar has melted. Increase heat to medium to bring just to the boil and then reduce back to low and simmer for about 5 minutes or until the mixture thickens. Best served warm. If you do not want to serve with a dipping sauce you can use it to glaze the madeleines.
sticky_date_madeleines-2

Monday, February 6, 2012

Chocolate Chip Cherry Cheesecake

cherry_choc_chip_cheesecake-2
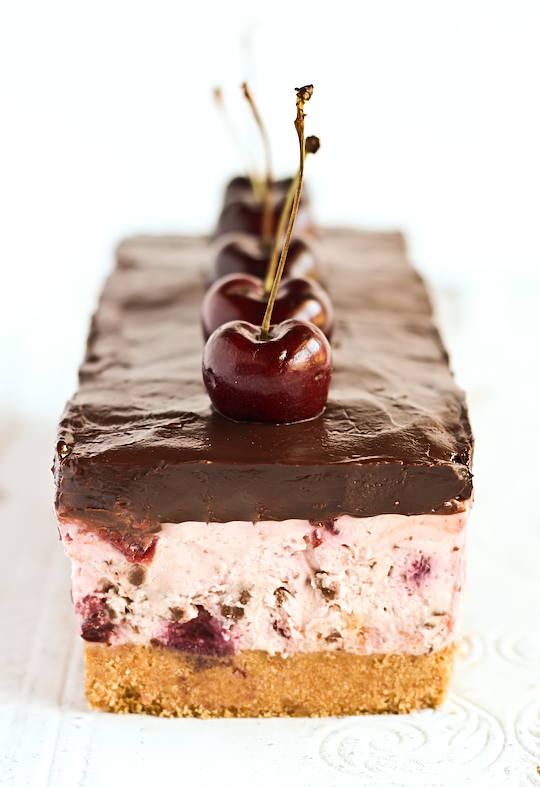
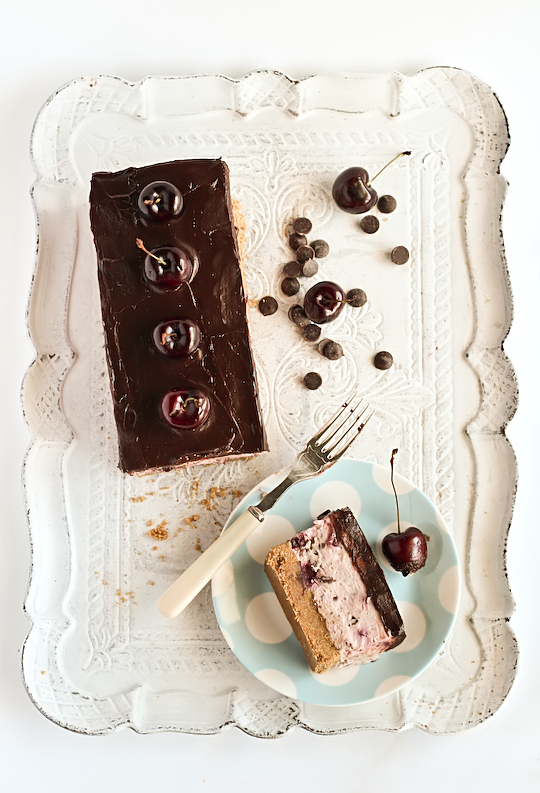
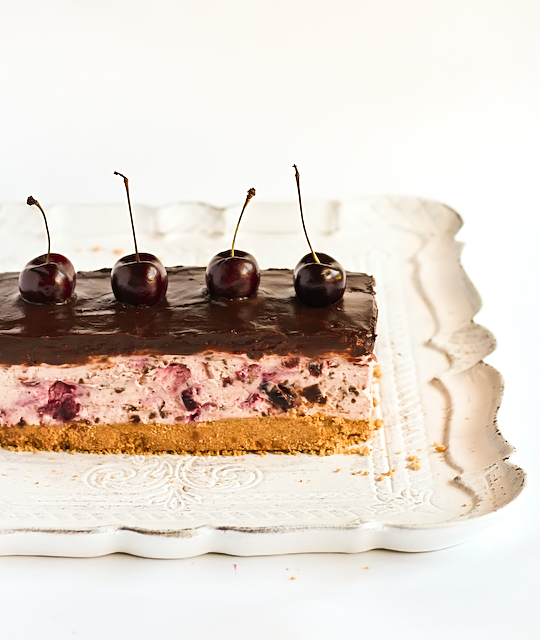
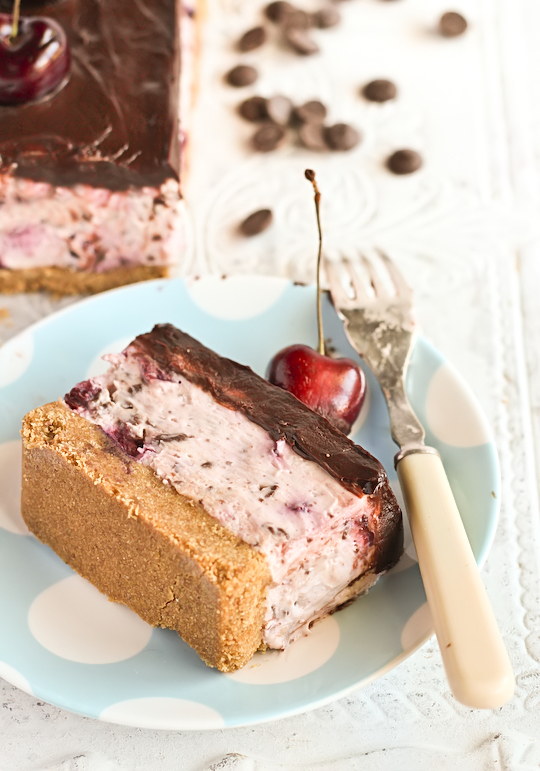
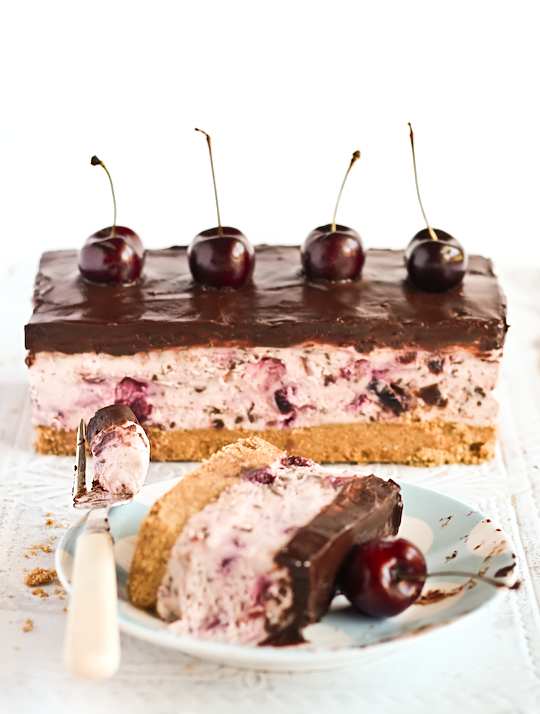
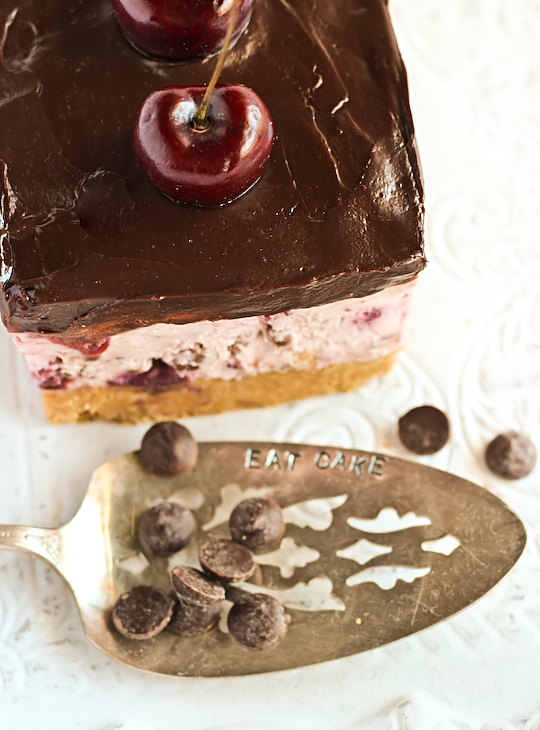
This is one sexy cheesecake. Somehow it turned out too sexy, if that's possible. A Chocolate Chip & Cherry Cheesecake that's made with my old faithful biscuit base, a magically fluffy and addictive no-bake filling that is full of itty bitty dark chocolate bits and cherry pie filling, and then I decided to top it off with a thin layer of rich dark chocolate ganache. I think I may have gone a step too far, I kind of regret adding the that layer of chocolate ganache now, but it seemed like such a good idea at the time and it looks so pretty especially with those cherries nestled into its surface.
cherry_choc_chip_cheesecake-5
The cherry and chocolate chip cheesecake filling is outstandingly good. I could quite easily eat the filling on its own straight out of the bowl. I used a simple chilled cheesecake recipe base and added a cherry mixture that's similar to the cherry pie filling from my cherry pie shortbread, so it's all lusciously jam-like. I also added little nibs of dark chocolate, like the chocolate chip bits in my mint chocolate chip cake. It's fantastic to eat, like eating a cloud of cheesecake, and every now and then you get a bite of juicy cherries or a hit of bittersweet chocolate. I considered using maraschino cherries and bigger chunks of dark chocolate so it was just like Ben & Jerry's cherry garcia ice cream, but decided that it would be a waste not to use the fresh cherries that we have available at the moment. But you can use frozen cherries or maraschino ones if you prefer.
cherry_choc_chip_cheesecake-7_filtered
The inspiration for this rectangular-shaped cheesecake was partly from Sweetapolita's Dark Chocolate & Raspberry Buttercream Cake with Ganache Drizzle and partly from Heston Blumenthals Black Forest Cake from his 'In Search of Perfection' series. I've done so many round cheesecakes, it seemed like a good time to try something a little different. At some point I decided that I needed to use a thin layer of chocolate ganache on top, just to make it a little prettier and so I could top it off with some fresh cherries. At first I thought cheesecake filling on its own looked a little sad and messy. But the truth is, it really didn't need it and it tasted better before I put the ganache on. So I probably wouldn't recommend adding the ganache layer unless you really like the presentation and if you wanted a dessert that was a little bit more decadent and chocolatey. I personally thought the ganache made it a tad too rich. Oh well.
cherry_choc_chip_cheesecake-8
If the cheesecake looks a bit messy, it's because I was even more of a klutz than usual in my kitchen. While making this cheesecake I managed to knock my food processor bowl full of chocolate chip bits on the ground, snapping some of the plastic off it and sending chocolate flying in all directions. And later on I somehow managed to upend the bowl of warm chocolate ganache, in the exact same spot where I had just cleaned up all the chocolate chips. Put chocolate & I in the same room and it will always end in disaster. But it's usually worth it. Definitely worth it in this case.
cherry_choc_chip_cheesecake-6
Chocolate Chip Cherry Cheesecake
(serves 6-8 people, loosely based on this cherry cheesecake recipe by Nigella Lawson)
2 cups (about 200g) of crushed disgestives biscuits (or graham crackers)
1 tbsp sugar
60g (about 4 tbsp) butter, melted
150g cherries (fresh or frozen), pitted and diced
1 tbsp sugar
2 tsp lemon juice
1 tbsp cornflour (cornstarch) + 2 tsp cold water
150g finely chopped dark chocolate, or 3/4 cup mini dark choc chips (I blitzed my chocolate in the food processor to make the pieces really tiny)
300g cream cheese, softened
60g (about 1/2 cup) icing sugar, sifted
1 tsp pure vanilla extract
250ml thickened cream

(Very optional) chocolate ganache:
100ml pouring cream (min 35% fat pure unthickened cream)
150g dark chocolate
Fresh cherries to decorate
Note: I found that this ganache was too rich and overwhelming for the rest of the dessert, you can definitely skip it, or replace it with a layer of cherry jam or make another batch of the cherry filling above.

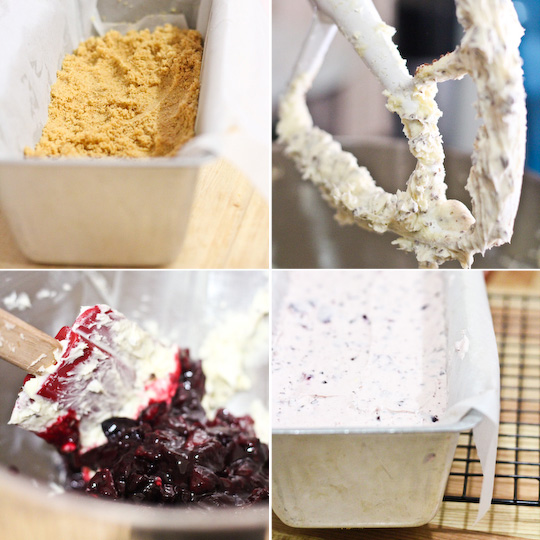
For the crust; preheat oven to 160°C (325°F). Grease a 10x30cm rectangular loaf tin (or a 21cm springform tin). Line the base and two long sides of the loaf tin with baking paper leaving some extra baking paper hanging over the edges, this will make it easier to lift the cheesecake out of the tin later. Mix crushed biscuits and 1 tbsp sugar together in a medium bowl. Add butter and stir until well combined. Using your hands, spread mixture out in an even layer, then use your fingertips to press crumb mixture into bottom of tin to form an even crust. Transfer to a baking sheet and bake until crust is set and golden in places, 15–20 minutes. Set crust aside until cool.
cherry_choc_chip_cheesecake-13
Place chopped cherries, lemon juice and 1 tbsp sugar in a small saucepan and place on medium-low heat, stirring until the sugar dissolves. Add the cornflour mixture to the saucepan and stir over heat until mixture starts to thicken, then set aside to cool. Prepare the cheesecake filling; Place cream cheese, icing sugar and vanilla in a large mixing bowl and beat on high speed with an electric mixer until smooth. With the mixer on low speed, gradually add the finely chopped chocolate and beat until it is evenly distributed. Stir cherry mixture into the mixing bowl until combined. In a separate mixing bowl, carefully beat the cream to stiff peaks (keep a close eye on this as the thickened cream is easy to overbeat). Fold cream into the rest of the mixture and then pour over the cooled crust. Chill in the fridge for at least 3 hours or overnight. Lift out of the tray using the baking paper flaps and peel away from the sides, you can run a knife under hot water and then use it to slice a thin layer of the sides to make it look neater.

If you decide to do the chocolate ganache on top, place cream in a small saucepan on medium heat until it just comes to the boil. Chop up chocolate and place in a mixing bowl and pour the hot cream over, leaving for 5 mins to let the chocolate melt. Whisk mixture together until smooth and pour a very thin layer over the top of the cheesecake. Top with fresh cherries and chill for another hour before serving.
cherry_choc_chip_cheesecake-4