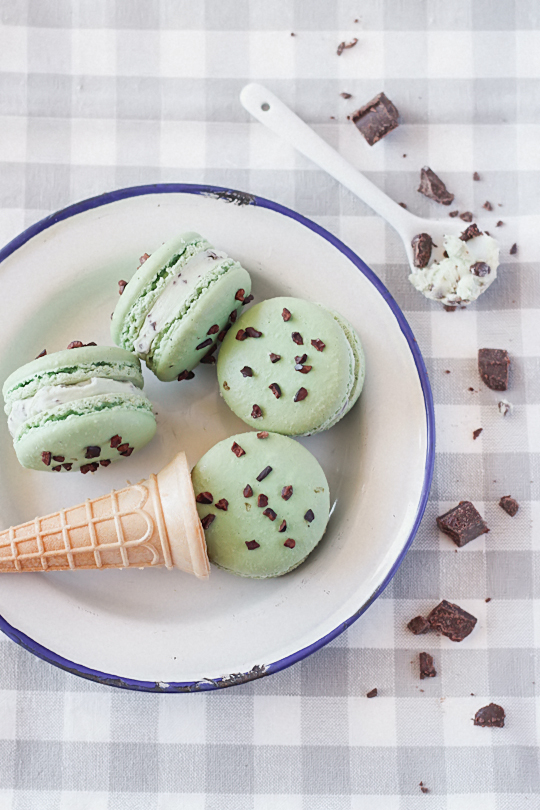
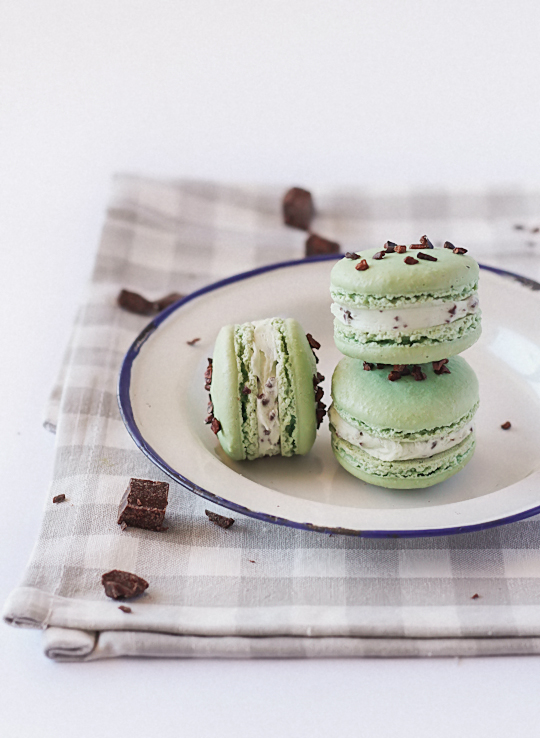
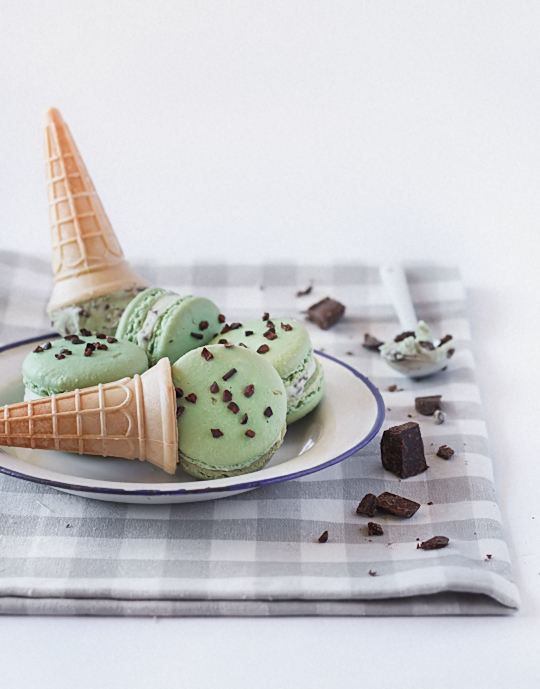
The fun thing about working with an unfamiliar oven is having an excuse to go back to basics. I was super scared to try macarons in the oven in my new place since it took me many, many failed batches to get used to my last oven. But I decided bite the bullet and try a pretty uncomplicated recipe. It's essentially the macaron version of my Mint Chocolate Chip Cake, which included the icing version of the ice cream flavour. It's like dessert inception!
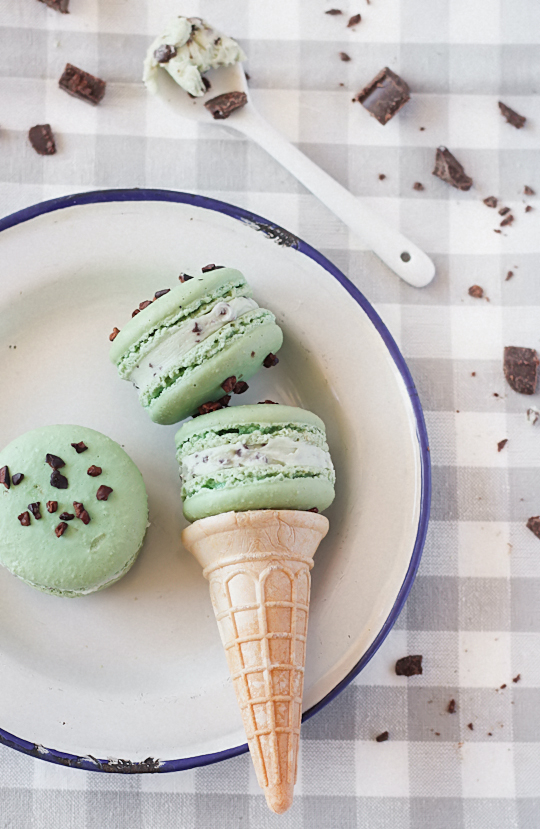
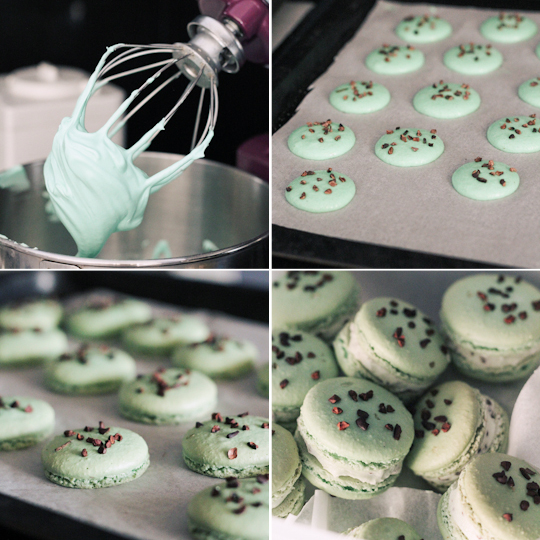
I used the same mint chocolate chip icing from the cake recipe, with a slightly stronger peppermint flavour since you're not going to be eating a whole slice worth of icing. I made some plain macaron shells tinted with a bit of green and blue colouring and sprinkled with cocoa nibs. I love using cocoa nibs and they are perfect for this macaron flavour. I know they're not that easy to get a hold of so you can always substitute it with a dusting of cocoa powder instead.
Thankfully the my first batch of macaron shells turned out pretty good. A little bumpy, but the shells had good feet and weren't hollow inside. But I have learnt that my oven is much hotter than the previous oven, so I pretty much have to lower the temperature about 20 degrees from what is stated in most recipes. It's an important thing to learn; every oven is totally different and you need to get to know how hot or cool your oven operates and adjust the oven temperature accordingly. It's handy to get an oven thermometer but I tend to get a feel for it over time.
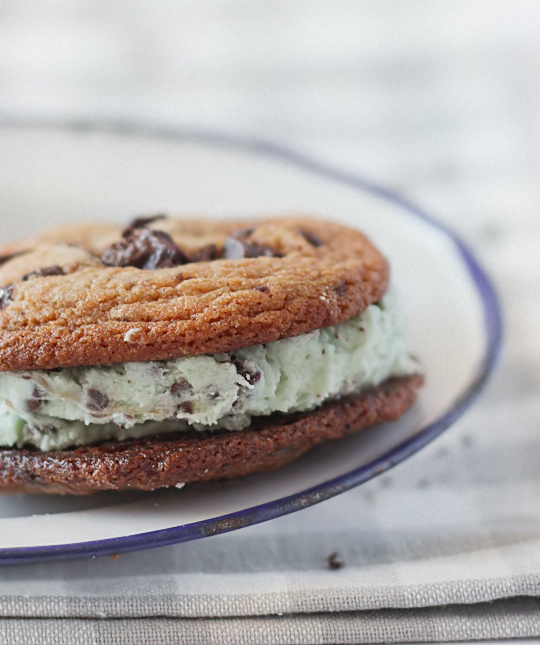
You might end up with some extra icing after filling your macarons. You could throw it out, or ice some cupcakes, or go totally nuts and bake some Salted & Malted Chocolate Chip Cookies and sandwich it with a bucketload of icing. Oh yeahhhh.
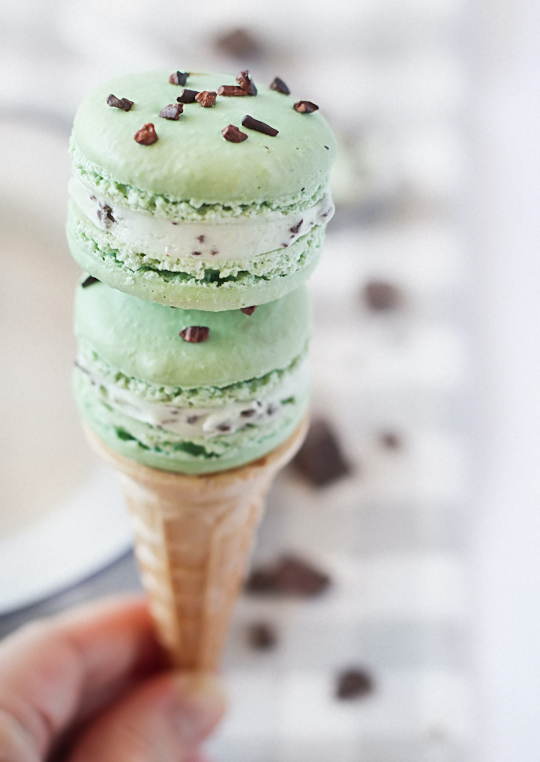
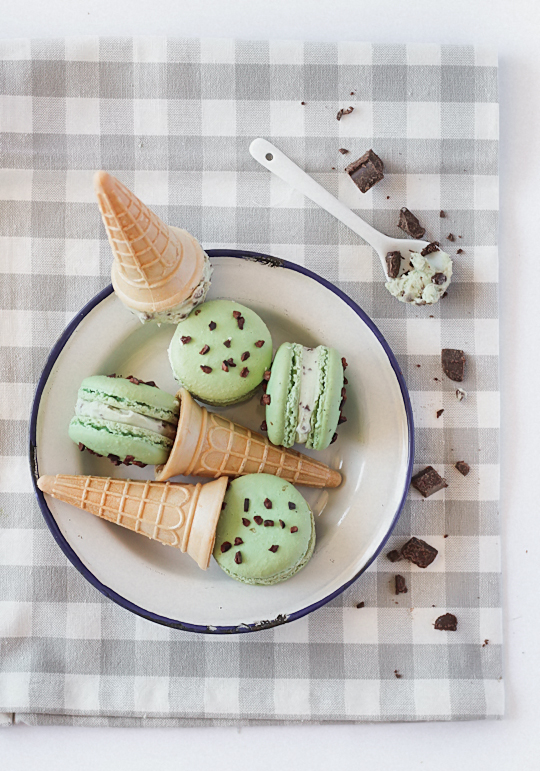
I know this macaron flavour has totally been done before, but it was fun to try out anyway. I knew that the macaron would probably look a lot more elegant with a simple mint flavoured chocolate ganache, but I wanted to get the full mint chocolate chip experience by using the fabulous icing that looks just like the ice cream flavour. Of course I couldn't resist picking up some mini ice cream cones to play with too!
Mint Chocolate Chip Macarons
(makes about 15-16 macarons)
For the macarons: (if you are a beginner with macarons, read up and practice plain macarons first. BraveTart has lots of useful advice and info on the subject)
100g aged egg whites (you can use fresh eggs too, just make sure they are room temperature. I always use fresh these days, and zap it in the microwave on defrost for 10 seconds)
110g almond meal, at room temperature and well sifted
200g icing sugar
50g caster sugar
Optional: 1 tsp powdered egg whites (available from The Essential Ingredient), helps to stabilise egg whites but is not necessary
Blue/green food colouring (powdered or gel)
To decorate: cocoa nibs (also available from The Essential Ingredient)
To decorate: cocoa nibs (also available from The Essential Ingredient)
Line two baking sheets with baking paper.
Place icing sugar in food processor and pulse for a minute to
remove any lumps. Stir in almond meal and pulse for about 30
seconds to combine. Sift into a large mixing bowl and set aside.
Using an electric mixer, beat egg whites and egg white powder in a
medium mixing bowl until the egg white powder dissolves and it
reaches soft peaks. With the mixer on high speed, gradually add
sugar and beat until it reaches stiff peaks. (You can add the food colouring to the meringue as you are beating it to
stiff peaks, it makes it easier to adjust how much colouring to add.
Otherwise add it in the next step. I used a green gel colouring with a hint of aqua gel as well.)
Add meringue to your dry mixture and mix, quickly at first to break
down the bubbles in the egg white (you really want to beat all the
large bubbles out of the mixture, be rough!), then mix carefully as
the dry mixture becomes incorporated and it starts to become shiny
again. Take care not to overmix, the mixture should flow like lava
and a streak of mixture spread over the surface of the rest of the
mixture should disappear after about 30 seconds. Place mixture in a
piping bag with a 1cm round piping tip. Pipe rounds about 3cm diameter, leaving at least 2cm space around each one. Tap baking sheets carefully and firmly on the
benchtop a couple times to remove any large bubbles. If you wish, you
can decorate the shells with cocoa nibs or a dusting of cocoa powder.
Leave to dry for about an hour, so that when you press the surface
of one gently it does not break. This will help prevent any cracking
and help the feet to form on the macs. Preheat your oven to 130-150°C (265-300°F), depending on
your oven. You can place the sheet of piped shells on top of an overturned roasting tray or another
baking sheet if your sheets are not professional grade, for better
heat distribution. Bake for 20-25 minutes, depending on the size of
your shells. Carefully test if the base of the shell is ready by
gently lifting one and if it's still soft and sticking to the baking
paper, then it needs to bake for a few minutes longer. Remove from
the oven and cool on the tray for a few minutes, then gently remove
from the sheet and place on a wire rack to cool completely.
For the mint chocolate chip icing:
125g salted butter, softened (or use unsalted and add 1/2 tsp salt)
1 1/2 cups icing sugar (about 190g)
3 tsp peppermint essence
75g semi-sweet dark chocolate, either very, very finely chopped (I pulsed mine down in a food processor, sifting away the finer powder) or mini chocolate chips
Optional: green/blue food colouring
Place butter in a large mixing bowl and beat on high using an electric mixer until the butter is smooth and fluffy. Gradually beat in icing sugar until smooth. Add peppermint essence and food colouring, try to match the colour of the shells. Stir in chocolate bits gradually, you want to make sure you don't add too much and that your chocolate isn't too fine or it will turn the icing brown. Spoon or pipe into the macaron shells, sandwiching them together. Store in an airtight container overnight to allow them to mature. Serve at room temperature.


They look delicious! I definitely want to give these a try! xx
ReplyDeleteYour macarons always look so perfect! And the pastel green makes them so, so pretty!
ReplyDeleteI think these look absolutely amazing! Love a good mint chocolate chip ice cream and I love how you have incorporated the flavor(s) into other sweet treats!
ReplyDeleteOh my gosh, those macarons looks lovely. Definitely going on my list of things to try. And on Pinterest. Thanks for sharing!
ReplyDeleteGOOD LORD, i love mint choc chip. I could eat these macarons till the cows come home.
ReplyDeleteYum I love the idea of putting cacao nibs on top to decorate. It would add such a nice lovely crunch to the chewiness of the macs =) Lovely photos as always!
ReplyDeleteThey look wonderful, congrats!
ReplyDeleteThese look amazing! Such perfect macarons!
ReplyDeleteThese are by far the prettiest macarons I've seen in a long time!! LOVE this idea!!
ReplyDeleteThese look delicious! I need to bookmark this recipe, I'm sure it will come in handy ;)
ReplyDeleteSo lovely color!!! Love this<3
ReplyDeleteThese look incredible!! I love all things mint chocolate chip and macarons are one of my favorite treats... This is a no-brainer!
ReplyDeleteThis post makes me so very happy!! Looks like you have mastered your new oven.
ReplyDeleteHi Steph! First, I just wanted to say how I LOOOVE your recipes! I've tried the milo cupcakes and the spiced blondie with chai-infused ganache and totally loved them!
ReplyDeleteI've start making macarons, but have little success when I use my big oven. I'm pretty sure it's all because of the baking temperature because my macarons turn out pretty when I use my toaster oven. I want to try your tip for better heat distribution, but I don't understand what you mean: do I have to put a baking tray on the top shelf of my oven and have the tray with my macaron sit underneath?
"Preheat your oven to 130-150°C (265-300°F), depending on your oven. You can place on top of an overturned roasting tray or another baking sheet if your sheets are not professional grade, for better heat distribution."
Thanks!
All that step means is that it can help to use two baking sheets instead of a single one. I found in my old oven (which had terribly uneven heat distribution) that it helped to double up my baking sheets. You should always position them in the centre of the oven.
DeleteThank you for the awesome reply ^__^ !!
DeleteI really like macarons! All these colours and tastes make me really enthousiastic! Keep going on your new oven!
ReplyDeleteThese are gorgeous and amazing. Period.
ReplyDeleteThese look absolutely beatiful!! They must taste delicious!!! =)
ReplyDeleteErgo - Blog
Steph, I love these! They look so delicious! This is exactly why I included you on my list of resources on my macaron tutorial. You're such an inspiration!
ReplyDeleteSara
http://triedandtwisted.blogspot.com/2013/03/march-of-macarons-french-macaron.html
These look so yummy!
ReplyDeleteMy blog: acolorfulcreation.blogspot.com
Yum! These look so fresh and delicious, I'm going to have to give them a try... have yet to try macarons. But I think these will take me over the line.
ReplyDeleteOh so cute! Love your styling as well!
ReplyDeleteThese look SO good, and I'm not even that huge a fan of mint! They would be perfect as petit fours after supper :) x
ReplyDeleteYour macarons look perfect!! Love the flavour, mint choc-chip icecream is my favourite. Very cute pictures too.
ReplyDeleteSteph...this is a really lovely website. I have just come across you and your recipes and style is lovely. I'm Donna from nectarandstone.blogspot.com and I also have a love for baking and fashion - creating seems to just run through me. Look forward to reading your posts.
ReplyDeleteLove
Donna
Oh how super cute are the photo's in the cone :)
ReplyDeleteIt doesn't even look like you changed ovens, because they still look as perfect as ever :) mmm i love the mint choc chip flavour combo. it's one of the classics that is hard to go wrong by!
ReplyDeleteSo sweet, they look really good!
ReplyDeleteLove, Lali
these look so cute...
ReplyDeleteLove mint chocolate chip. Love macarons. Love salted malted chocolate chip cookies. WANT IT ALL.
ReplyDeletePlease.
I´m in love with your pictures!
ReplyDeleteI recently discovered your blog through Saveur and it's beautiful. I'm scared of trying to make macarons but there are so many lovely macaron recipes on your site, I'm defintitely going to look here for guidance when I finally decide to make them...
ReplyDeleteI recently discovered your site through Saveur and it's beautiful! So many lovely macaron recipes too :)
ReplyDeleteI never made macarons but always I want make, yours look awesome, and what lovely look all you make!!
ReplyDeleteThese really look amazing!!!
ReplyDeletethat looks insanely delicious!
ReplyDeleteSophia
http://sophiebysophia.blogspot.com
I just made these tonight ... my 2nd time making Macarons EVER :)) They even have feet!!! BUT they beautiful mint color turned brownish mint when they cooked. How do you keep the color from fading? I'm just starting out and I'd LOVE your advice. Thanks!
ReplyDeleteYay congrats on the feet! Some food colourings brown easier than others, I've found the Wilton gels definitely brown but Americolor and powdered colours tend to fair better. Otherwise you can try dropping your oven temp a bit and baking them for longer instead. Hope that helps! x
Delete