YUM.
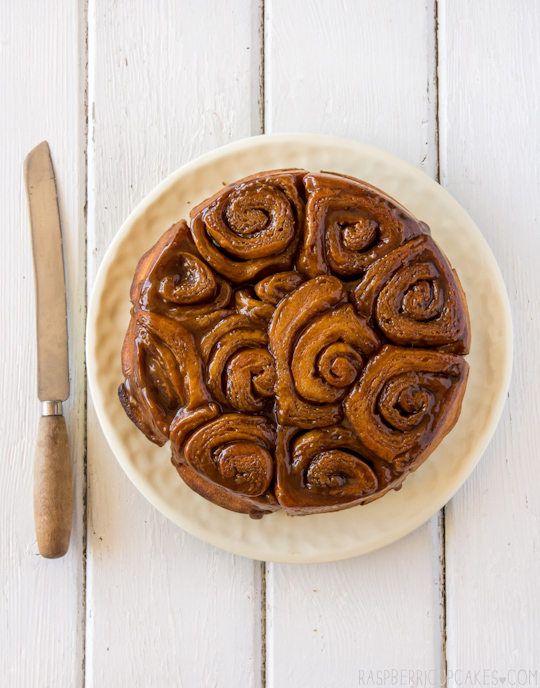
Seriously, I could end my post there. The pictures speak for themselves. These sticky buns are my new baking love. And not just because putting the word 'sticky' and 'bun' together makes me giggle a little bit.
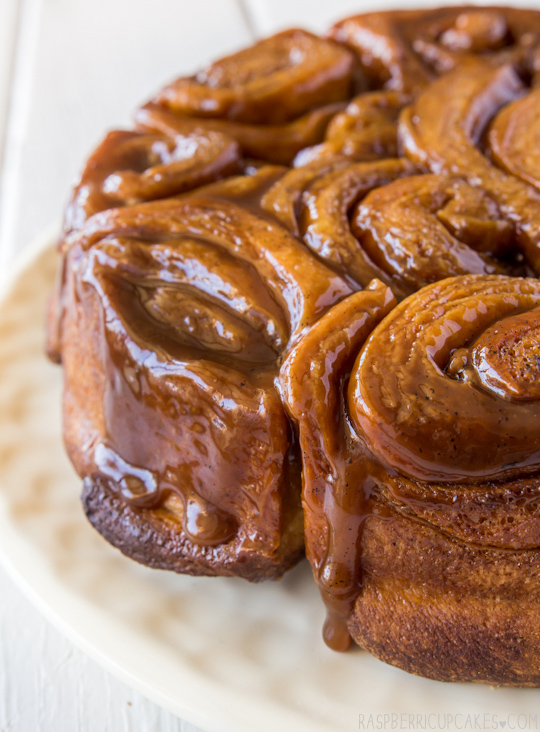
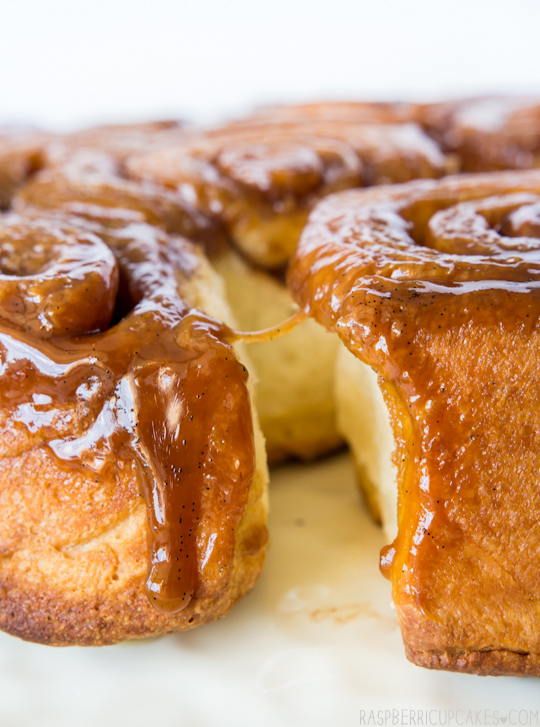
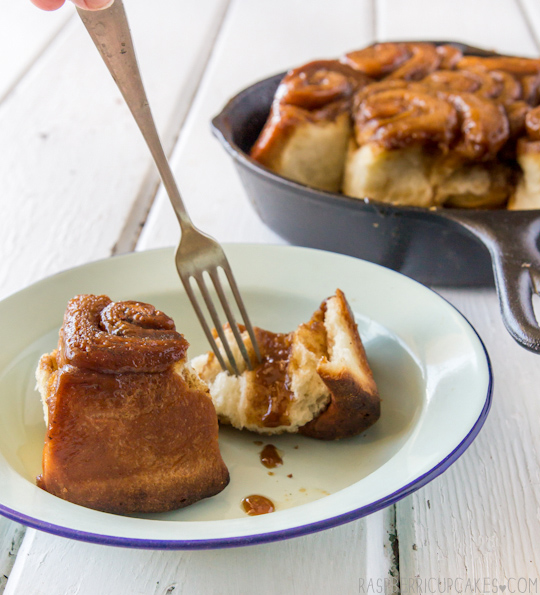
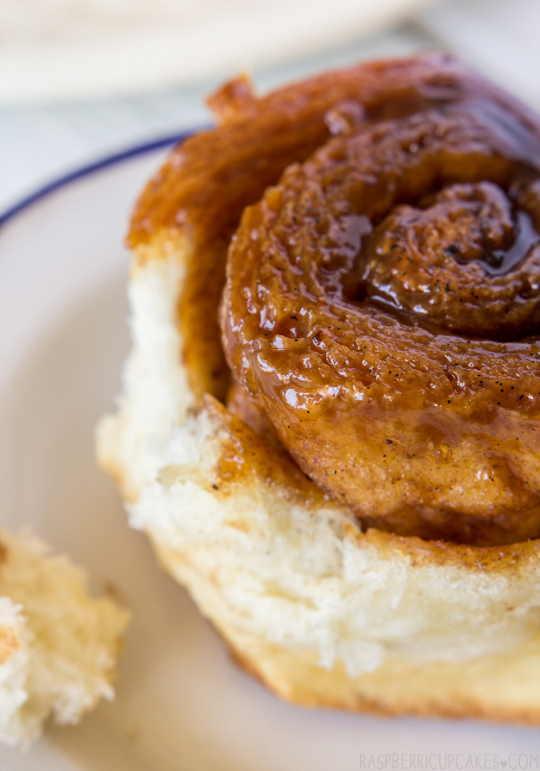
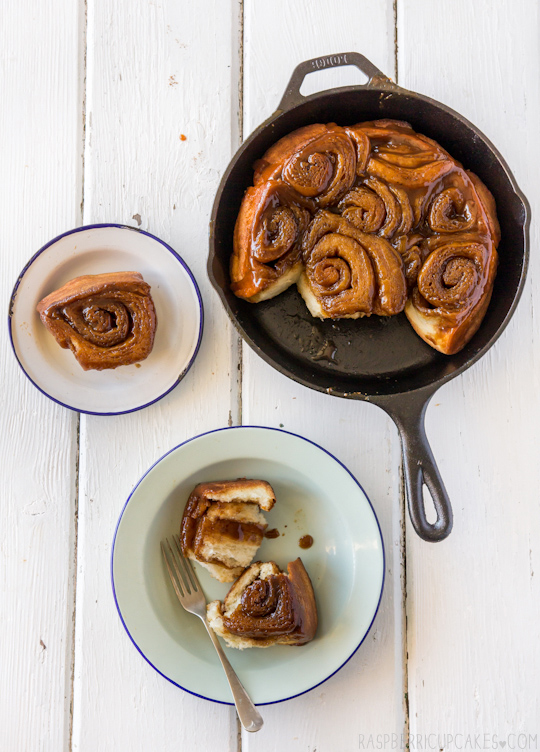
Look at that caramel sauce dribbling down the sides. Total food porn. Can you tell how much I am loving my new cast iron skillet? I baked with it again this week. It was my inspiration for trying out this recipe, because I knew my new skillet would be perfect for something that involved baking with a layer of sauce bubbling at the bottom.
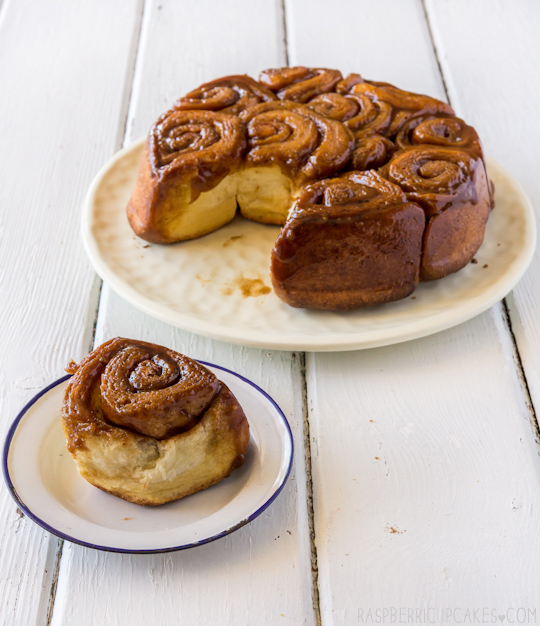
Rather than trying a traditional cinnamon bun or scroll, I decided to try these sticky buns. Similar in shape to the cinnamon bun, but baked with a sticky sauce on the bottom and then inverted after baking so the sauce oozes down into the bread. It makes me salivate just by writing about it. And instead of just limiting myself to cinnamon, I went crazy with all kinds of spices. I added vanilla bean to the caramel sauce, along with star anise. I added cardamom, ginger, nutmeg and cloves to the filling. If you're like me and you like your spices then this is the recipe for you. If not, you can tailor the spices mix to your liking or stick to just plain cinnamon. I won't judge.
Awwwww yeah.
This recipe is quite long-winded, I would definitely recommend saving it for a day when you have plenty of time to wander in and out of the kitchen throughout the day. I picked a rainy Saturday with the cricket on the tele when I was supposed to be cleaning the house for a rental inspection. I'm pretty sure that I ended up making more mess than I cleaned. It was so worth it. They actually tasted even better a day later because it gave it time for the sauce to really seep into the bun and reheating them in the microwave allowed it to steam and soften the bread slightly. These buns are soft, gooey and moreish and you should definitely make them.
Spiced Sticky Buns
(Adapted from this Cinnamon Bun recipe)
For bread:
1 tsp white sugar
1 (7g/.25 oz) package active dry yeast
1/2 cup warm water (45°C/110°F)
1/2 cup milk
1/4 cup white sugar
55g (1/4 cup) butter
1 teaspoon salt
2 eggs, beaten
4 cups (about 520g) plain/all-purpose flour
For topping:
170g (3/4 cup) butter
1 vanilla bean pod, split and seeds scraped (or 1 tsp pure vanilla extract/vanilla bean paste)
1 star anise
3/4 cup brown sugar
1/4 cup maple syrup
For filling:
55g (1/4 cup) melted butter
3/4 cup brown sugar
1 tbsp ground cinnamon
1 tsp ground ginger
1/4 tsp ground cardamom
1/4 tsp ground nutmeg
1/4 tsp ground cloves
Optional: 1 cup chopped pecans, divided between topping and filling
In
a small bowl, dissolve 1 tsp sugar and yeast in warm water. Let
stand until creamy, about 10 minutes. Warm the milk in a small saucepan
until it bubbles, then remove from heat. Mix in 1/4 cup sugar, 1/4 cup
butter and salt; stir until melted. Let cool until lukewarm.
In
a large bowl, combine the yeast mixture, milk mixture, eggs and 1 1/2
cups of flour; stir well to combine. Stir in the remaining flour, 1/2
cup at a time, beating well after each addition (I used my dough hook
attachment on my electric mixer for this). When the dough has pulled
together, turn it out onto a lightly floured surface and knead until
smooth and elastic, about 8 minutes (or continue to use your dough hook
attachment on an electric mixer for about the same amount of time)
Lightly
oil a large bowl, place the dough in the bowl and turn to coat with
oil. Cover with a damp cloth and let rise in a warm place until doubled
in volume, about 1 hour. While dough is rising, melt 170g (3/4 cup)
butter, with vanilla bean pod and seeds and star anise in a small
saucepan over medium heat. Stir in 3/4 cup brown sugar and maple syrup,
whisking until smooth. Remove vanilla pod and star anise and pour into
greased 9x13 inch baking pan (I used a 10 inch skillet with high
sides).
Melt remaining 55g (1/4 cup) butter; set
aside. Combine remaining 3/4 cup brown sugar, cinnamon, cardamom,
ginger, cloves and nutmeg (I also added a bit of black pepper too) in a
small bowl. Turn dough out onto a lightly floured surface, roll into an
45x35cm (18x14 inch) rectangle (about 0.5cm thick). While leaving a
1.5cm (about half an inch) border uncovered, brush evenly with half the
melted butter and sprinkle with brown sugar spice mixture. Starting at
long side, tightly roll up, pinching seam to seal. Brush outside with
remaining butter. With serrated knife, cut into 15 pieces (since I used a
smaller pan I cut it into about 12 taller pieces); place cut side down,
in prepared pan. Cover and let rise for 1 hour or until doubled in
volume. Meanwhile, preheat oven to 375 degrees F (190 degrees C). (You can place on top of another baking tray in case the topping bubbles up the sides.)
Bake
in preheated oven for 25 to 30 minutes, until golden brown. Take care not to overbake or they will be dry. Let cool in
pan for 3 minutes, then invert onto serving platter. Scrape remaining
filling from the pan onto the rolls. Best served warm, can be stored in an airtight container for several days and reheated before serving.



Them buns, oh wow! (sounds a bit wrong haha). I'm such a sucker for scrolls but i think these buns are taking over. Love how the skillet is multi purpose.. i think i need one! Amazing work as always steph, always a great read on a monday morning x
ReplyDeleteI love how you can straight up see the vanilla bean seeds. AWESOME!
ReplyDeleteWow these look truly truly amazing
ReplyDeleteOh. em. gee. I need these right now. ALL OF THEM.
ReplyDeleteSticky buns are one of my favourite things in life. They cannot be beat.
ReplyDeleteI saw these on instagram and got so excited!! They look amazing :)
ReplyDeleteY-U-M.! =p......
ReplyDeleteThey look incredible. I'm making cinnamon buns today, but might just chuck the idea for these instead!
ReplyDeletevery nice very yummyy.. you are just genius ;)
ReplyDeleteThese look absolutely stickily perfect! I love spices so I can't think of anything better than this. Love.
ReplyDeleteThese photos actually made me gasp and pause my breathe! They are dirty food porn. X
ReplyDeletemyuniyears.com
Sticky buns trump cinnamon buns everytime. You have truly captured the essense of a perfect sticky bun. I usually use Peter Reinhart's recipe from Bread Baker's Apprentice, but I love the idea of baking them in a cast iron skillet. Thanks for sharing. If only I could have a bite!!
ReplyDeleteSo.. I just made these and let me tell you.. Careful or you'll have some sticky buns of your own, if you know what I mean. They're that delicious.
ReplyDeleteI recently moved to France & have yet to become adjusted with the switch from celsius to fahrenheit so unfortunately, mine were well over cooked on top. Rather crunchy and a little too caramelized on the bottom. Otherwise, they rose lovely and taste wonderful.
My grandparents came back from Northern California the other day and brought back fresh sticky buns from a local bakery-- how ironic then, that I visit your blog and see a sticky bun recipe! I'll definitely make this as soon as possible because I'm dying to recreate the sticky buns that they brought back from that bakery. They were amaaazing.
ReplyDeleteLooks and sounds amazing - I made cinnamon buns the other day but think I will try these next time!
ReplyDeleteYum, I love cinnamon buns and these look very similar to Cinnabon in the US. They have a sweet white sauce on theirs...... I would love to give this recipe a try.
ReplyDeleteUrgh, I'm salivating they look soooo good...
ReplyDelete