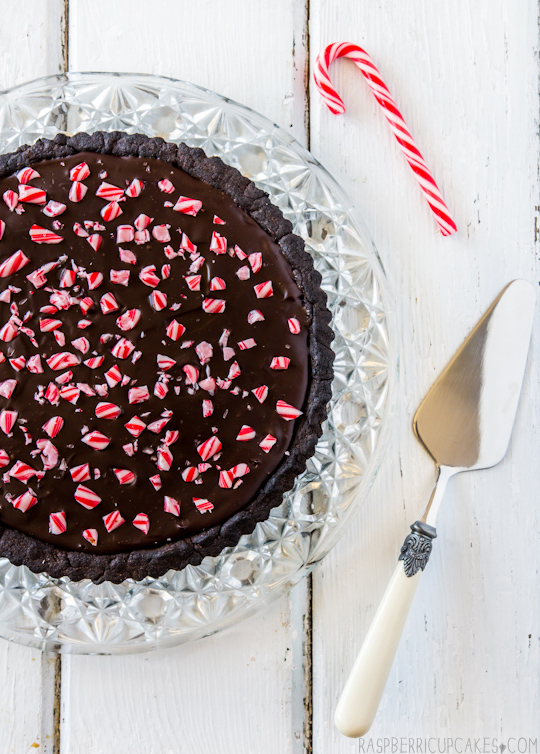
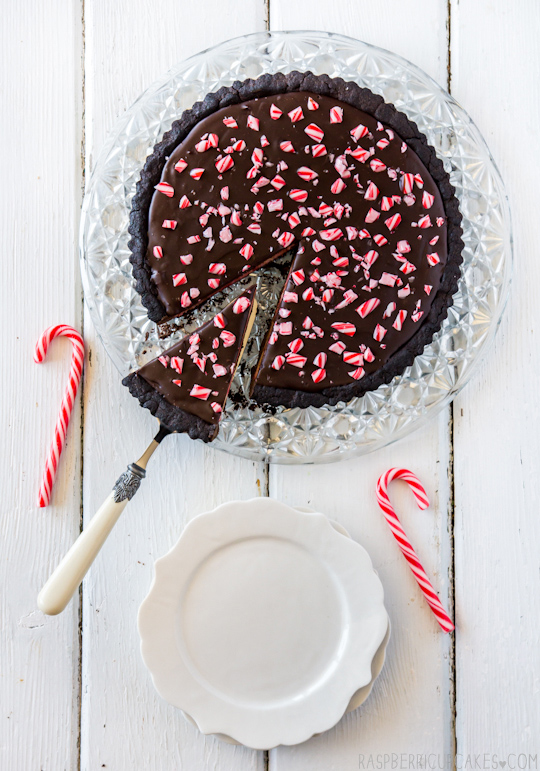
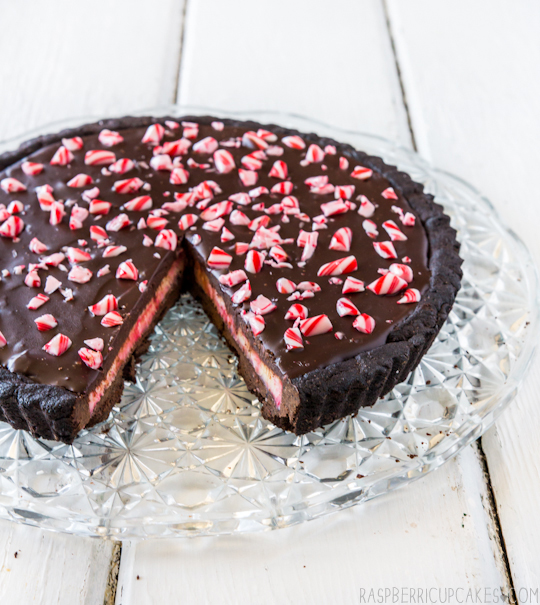
Candy canes are one of the many things I love about this time of year. Christmas usually involves an obscene amount of candy canes being consumed, along with an equally obscene amount of chocolate (usually in the form of Quality Streets and a bucket sized container of Maltesers). So why not combine these two lovely sweet things into one decadent dessert? This Christmas Candy Cane Chocolate Tart is not just a plain chocolate ganache tart. It has a small surprise inside...
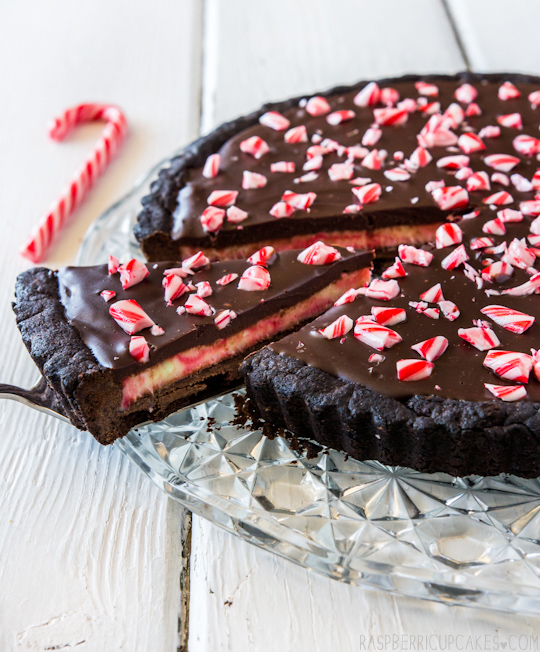
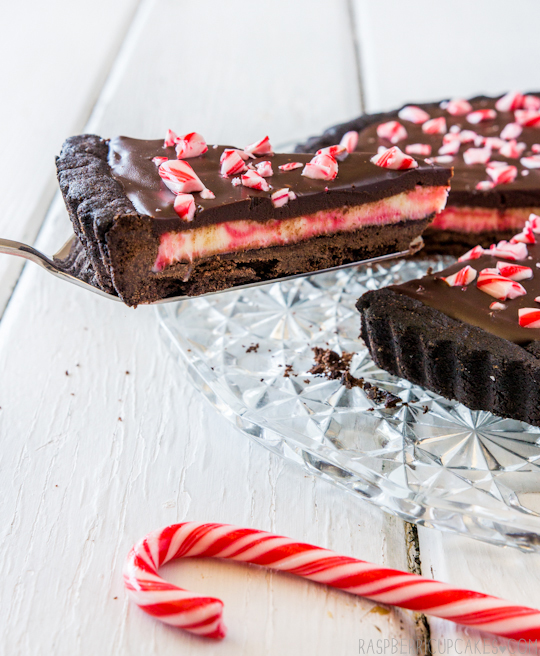
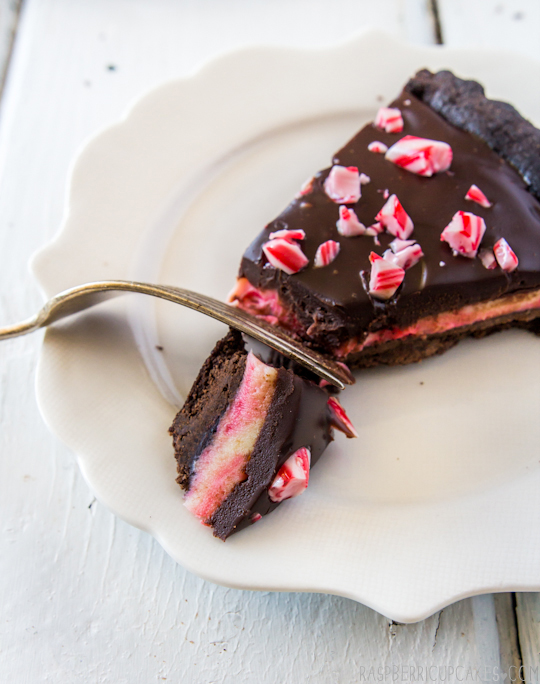
Ooooooh, pretty swirly insides! I tried to make the inside filling of the tart match the pretty swirling reds and whites of the peppermint candy cane, by using a peppermint white chocolate ganache swirled with a bit of red colouring. That layer was then hidden under a glossy layer of peppermint dark chocolate ganache (I used the Lindt peppermint flavoured chocolate but you can flavour plain chocolate too) and topped with layer of crushed candy canes.
Yep, pretty pleased with how this one turned out. I nearly overmixed the colouring into the white chocolate, which threatened to just turn the mixture into a uniform pink filing rather than a swirling red and white, but luckily stopped mixing it just in the nick of time. I was a little worried the crushed candy canes might be to crunchy and sharp on top but sitting the ganache overnight in the fridge allowed them to soften just enough to make them pleasant to eat with the rest of the tart.
This one is definitely for the mint chocolate fans. I'm a big fan of the combination, but I know there are people out there who don't like it. I'm not judging. I made sure not to make it too pepperminty, I don't ever want to feel like I'm eating a tart full of toothpaste.
I used my adaptation of Bravetart's chocolate tart shell, which I previously used for this tart, and it turned out perfectly. The slight bitterness from the shell goes well with the rich ganache, and I was really glad I split the layers into white and dark chocolate, because I think if I had kept it all dark chocolate it would have been a little bit too rich. But if you prefer your tart filling rich and intense, feel free to use all dark chocolate instead.
In other news, you might have noticed on Instagram that A & I bought our first house! It's been in the works for several months and now we are finally about to move in. It's all very hectic and exciting. It however does mean that over the next few weeks I am going to be incredibly busy and possibly without a working oven for a bit. So unfortunately this might interrupt the regularly scheduled Monday posts every week. I'm sorry! I'll do my best to keep it up but if not, I hope that all of you have a fabulous holiday season and a very happy new year! See you on the flip side.
105g (3.75 ounces/about 1/2 cup) sugar
35g (1.25 ounces) brown sugar
1/2 tsp pure vanilla extract/vanilla bean paste/seeds scraped from 1/2 a vanilla bean pod
1/4 tsp salt
125g (4.5 ounces) butter, room temperature
3 egg yolks
255g (9 ounces) plain/all purpose flour, sifted
50g (1.75 ounces) cocoa powder, sifted
For rolling: 15g (0.5oz) cocoa powder + 15g (0.5oz) icing/powdered sugar sifted together
With a hand or stand mixer, combine sugars, vanilla extract, salt and butter on medium speed. Mix only until ingredients are thoroughly combined, but by no means light and fluffy. Add in the yolks, one at a time then reduce speed to low. Add in the flour and cocoa powder all at once and mix until homogenous. If you’re comfortable with dough and a pin, you can roll it right away. Otherwise, form the dough into a disk, wrap in plastic, and refrigerate about 15 minutes to make the it easier to handle.(You can refrigerate the dough for up to a week or freeze for several months. Before rolling, set the dough out and let it slowly come to room temperature over a few hours.)
Preheat the oven to 180°C (350° F) and lightly grease a 22cm loose bottomed tart tin. Dust the counter with the prepared cocoa/powdered sugar mixture. Don’t use flour, it will toughen the dough and dull the richness of the chocolate color. Roll to 0.75cm (1/3") thickness.Carefully set dough over the tart shell and use your thumbs to press the dough into the corners of the pan. Press the overhanging dough against the edges of the tart pan to trim off the excess and leave the dough flush with the edges. Dock tart lightly with a fork. The dough is extremely forgiving and can be rerolled two or three times, you should be able to press any cracks together to mend them.
Bake for 20-25 minutes. After 10 minutes or so, check on the tart. If it has formed an air bubble; use a skewer to gently poke a small hole in the bubble to deflate it. Continue baking until the tart is firm and dry to the touch. Cool in tin for about 10 minutes, then carefully remove from tin and cool completely on a wire rack. Shell can be stored in an airtight container overnight.
For the chocolate ganache filling:
300g (10.5 oz) good quality white chocolate, finely chopped
300ml (about 1 1/4 cup) thickened cream
About 1/2 tsp peppermint essence, adjust to taste
150g (5.25 oz) good quality bittersweet chocolate, finely chopped
150ml (about 2/3 cup) thickened cream
1/4 tsp peppermint essence (or use mint flavoured chocolate)
Optional: Red food colouring , crushed candy canes to decorate
(Note: if you don't want the white chocolate layer inside, simply replace with equal amounts of bittersweet chocolate and pour all the filling in at once) Prepare the white chocolate filling first; place chocolate in a large mixing bowl and set aside. Place 300ml cream in a small saucepan and gently heat until it just comes to the boil. Pour over white chocolate and leave for 5 minutes to melt. Use a whisk to combine until smooth, then gradually add about 1/2 tsp peppermint essence to taste. Add about 5-6 drops of food colouring in several different spots on the surface of the ganache, or swirl in several drops of gel colouring, then pour mixture into the tart shell to get the swirl effect. (Try not to over stir or the colour will just mix in and turn it pink) Place tart in the fridge for at least an hour or until set.
Place bittersweet chocolate in a medium mixing bowl. Place 150ml cream in a small saucepan and gently heat until it just comes to the boil. Pour over bittersweet chocolate and leave for 5 minutes to melt. Use a whisk to combine until smooth, then gradually add about 1/4 tsp peppermint essence to taste. Gently pour over the tart to cover the white chocolate layer, using a spatula to smooth the surface. You may not need to use all of it, just enough to completely cover the layer underneath. Sprinkle crushed candy cane pieces over the top and chill in the fridge until set. Remove from the fridge about 20 minutes before serving, use a sharp serrated knife to cut. Can be stored for a few days in an airtight container in the fridge.

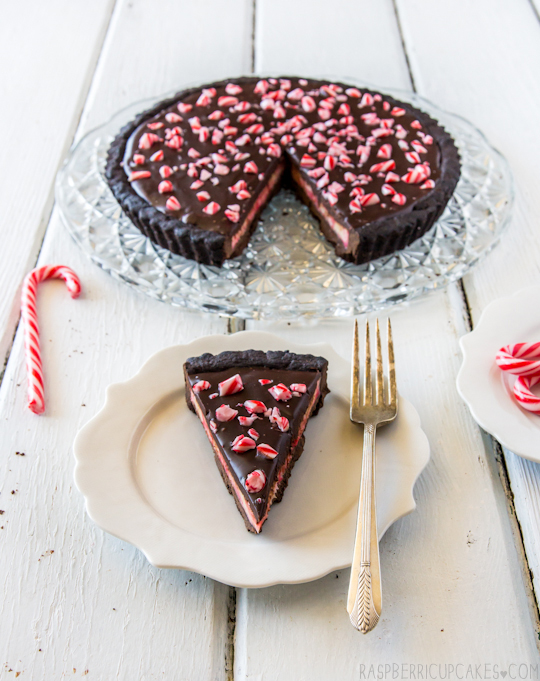
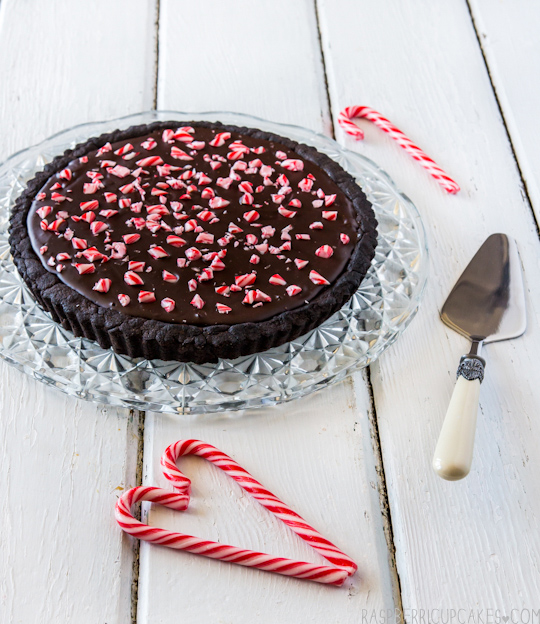


Yum yum. This tart says Christmas!!
ReplyDeleteCall me crazy but I hate candy canes. It's something about the mint flavour that I absolutely despise. That being said, I think I could eat this tart based solely on the amount of chocolate in it!
ReplyDeleteI am so werid; I hate candy canes but I have a thing for peppermint and chocolate.:P
ReplyDeleteThis tart has me drooling right now!
I love the swirls in the cream layer and that tart shell, to die for.
YUM. This is SO pretty and looks super delicious!
ReplyDeleteCongrats on buying your first home! That's almost impossible in Sydney!
ReplyDeleteLisa
What a great way to use your candy canes. imaginative and colourful as usual
ReplyDeleteLove it! My household absolutely adore your blog. Everyone comes running to drool over your latest blog inspirations including my 4yo & the dog. Thank you for sharing your sweets wisdom with us.
ReplyDeleteAnything with chocolate and mint makes me very happy. This tart makes me positively giddy. So gorgeous with that marbled filling.
ReplyDeleteCongrats on the new house. So exciting!! Looking forward to seeing what new treats you can create in your new kitchen. Happy holidays!!
Ooh! This looks so festive and delicious! I'm already thinking of how I can make it seasonal for every occasion (mint chocolate tarts are always in season, right?)....
ReplyDeleteHappy holidays!
this is looking so great! i must try it!
ReplyDeleteNow that's a nice suprise when you cut a slice! You definitely acheived the candy cane look with the first layer of filling. So creative, love it! and yay to a house :D x
ReplyDeleteWow, I love the layer inside! What a surprise, and how absolutely gorgeous.
ReplyDeleteYou are crazy talented! This looks amazing:) Good luck with the new house!
ReplyDeletelovely pics as usual! merry christmas to you, loving all your festive posts!
ReplyDeleteOh wow I love the surprise candy cane layer! Good luck with the move :)
ReplyDeleteomg this looks so awesome! And congrats on your new home!
ReplyDeleteThis looks delicious! Perfect for the summer christmas. And congrats on your new house! It must be very exciting :)
ReplyDeleteThis looks a million times better than a traditional Christmas cake. Fantastic idea
ReplyDeleteThis looks fantastic! I really want to try this out straight away!
ReplyDeleteFoodNerd x
www.foodnerd4life.com